unstdio.org

Not your standard io.

Starting a Prototype Board

| Comments

I got some stuff in from mouser yesterday. I basically ordered most of the stuff from here with the exception of changing the crystal to 8mhz instead of 16mhz and I didn’t need a reset button. I am going to use 3.3v power so I need to clock the MCU down.

I also got a new iPhone so the pictures on here should be a lot better quality now.

Pic of the ninja badge. (from old phone)

Slow.

| Comments

I have gotten a chance to play with a few ninja badges in the past week or two. I Started laying out the screens and menus on the Arduino platform.

I also ordered some parts from mouser to make a prototype badge. (without RF) Those should be coming this week. I will have some progress picture up then.

Playing With the Display Buffer

| Comments

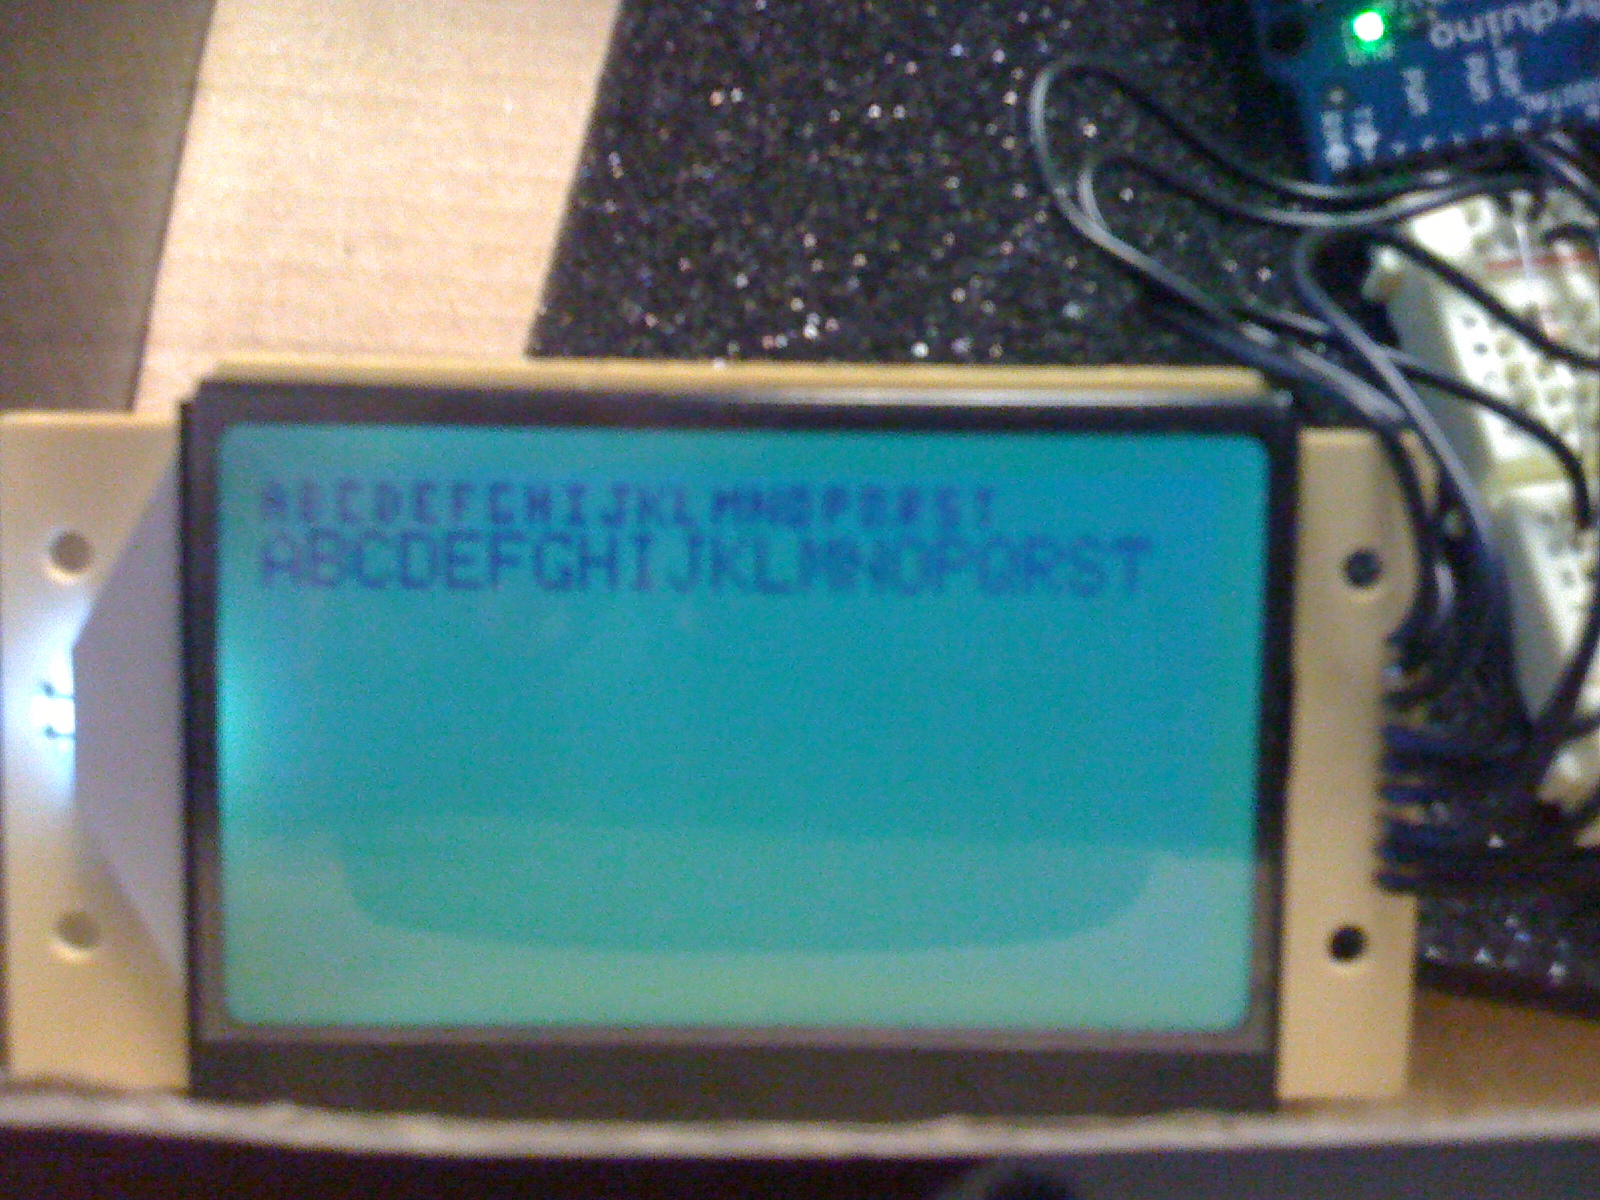
I got a chance to play around a bit with the display buffer on Wednesday. The Ninja badge buffer images and Ladyada’s images are stored and written into the buffer differently. The ones in the ST7565 Library fill the buffer using 8 bits at a time drawing down to left. For example; 10000000, 01000000, 00100000 (0x80, 0x40, 0x20) would draw a diagonal line down 3 pixels wide. This is different from the way other code writes to it. I was able to go through and view all of the characters that are in the badge. There was one that was kind of confusing, echelon….what?

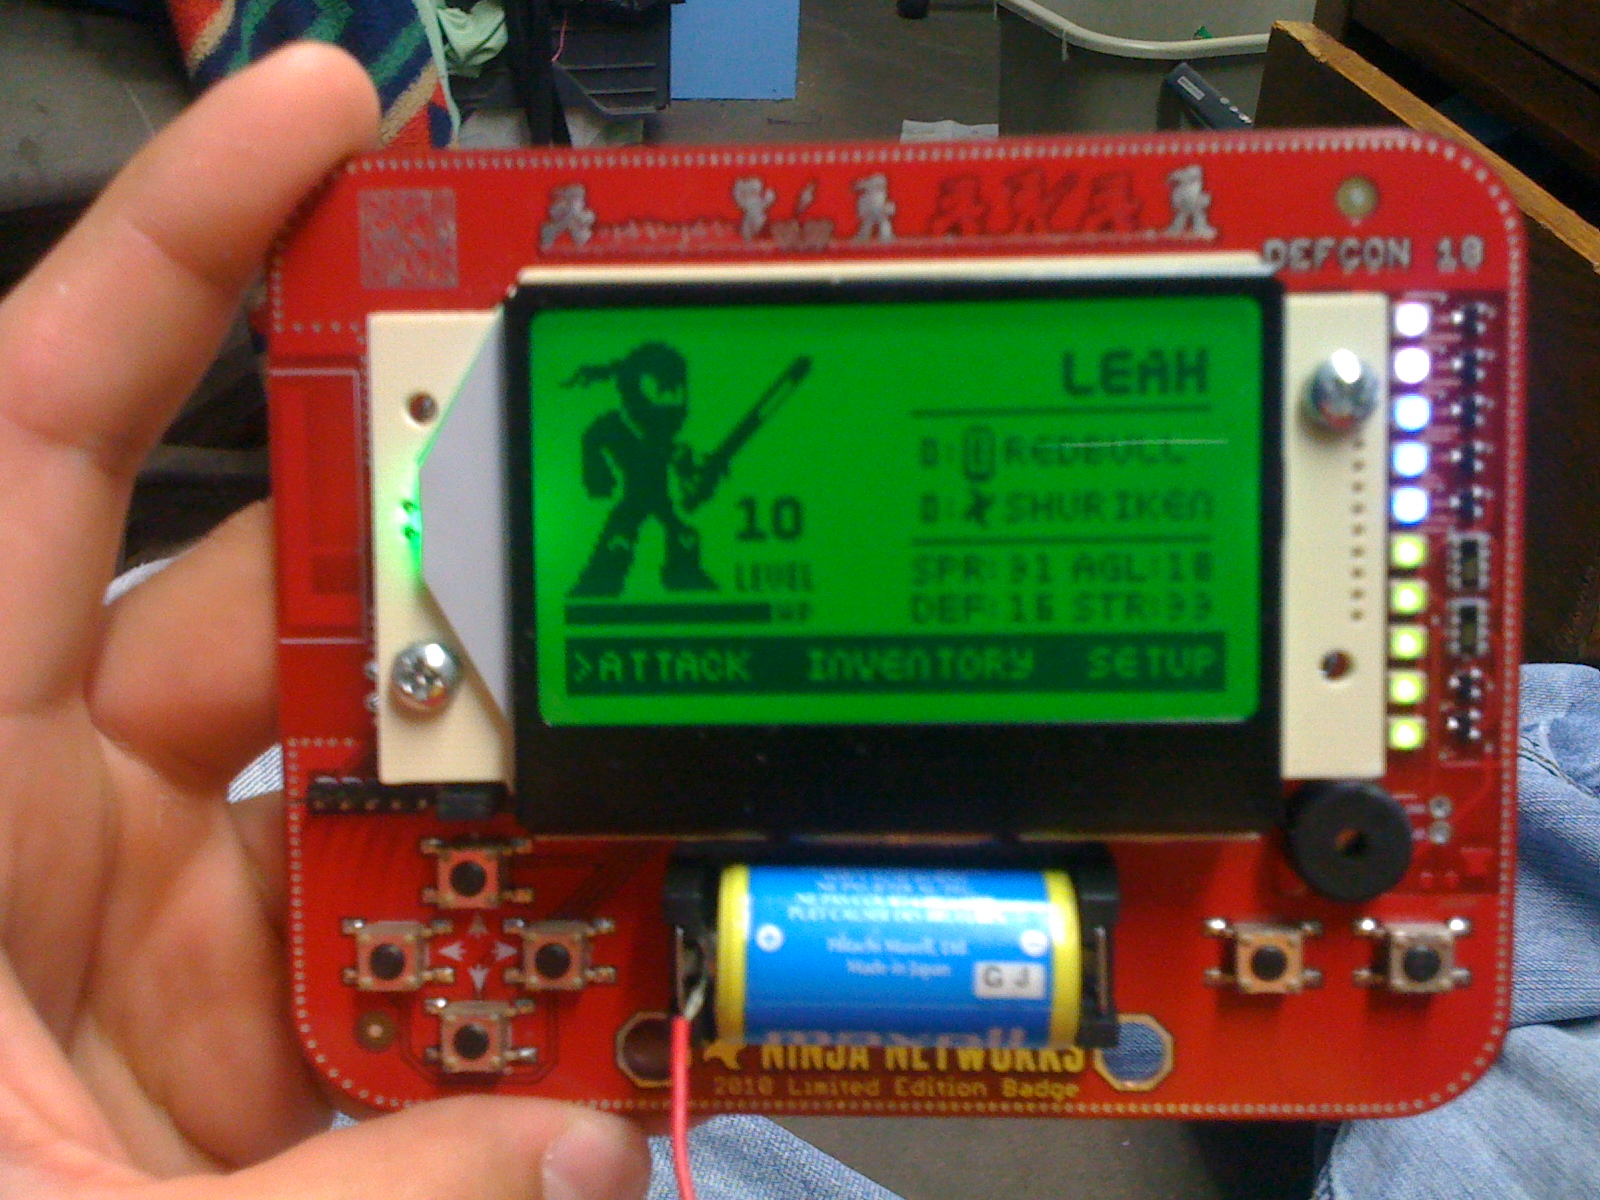
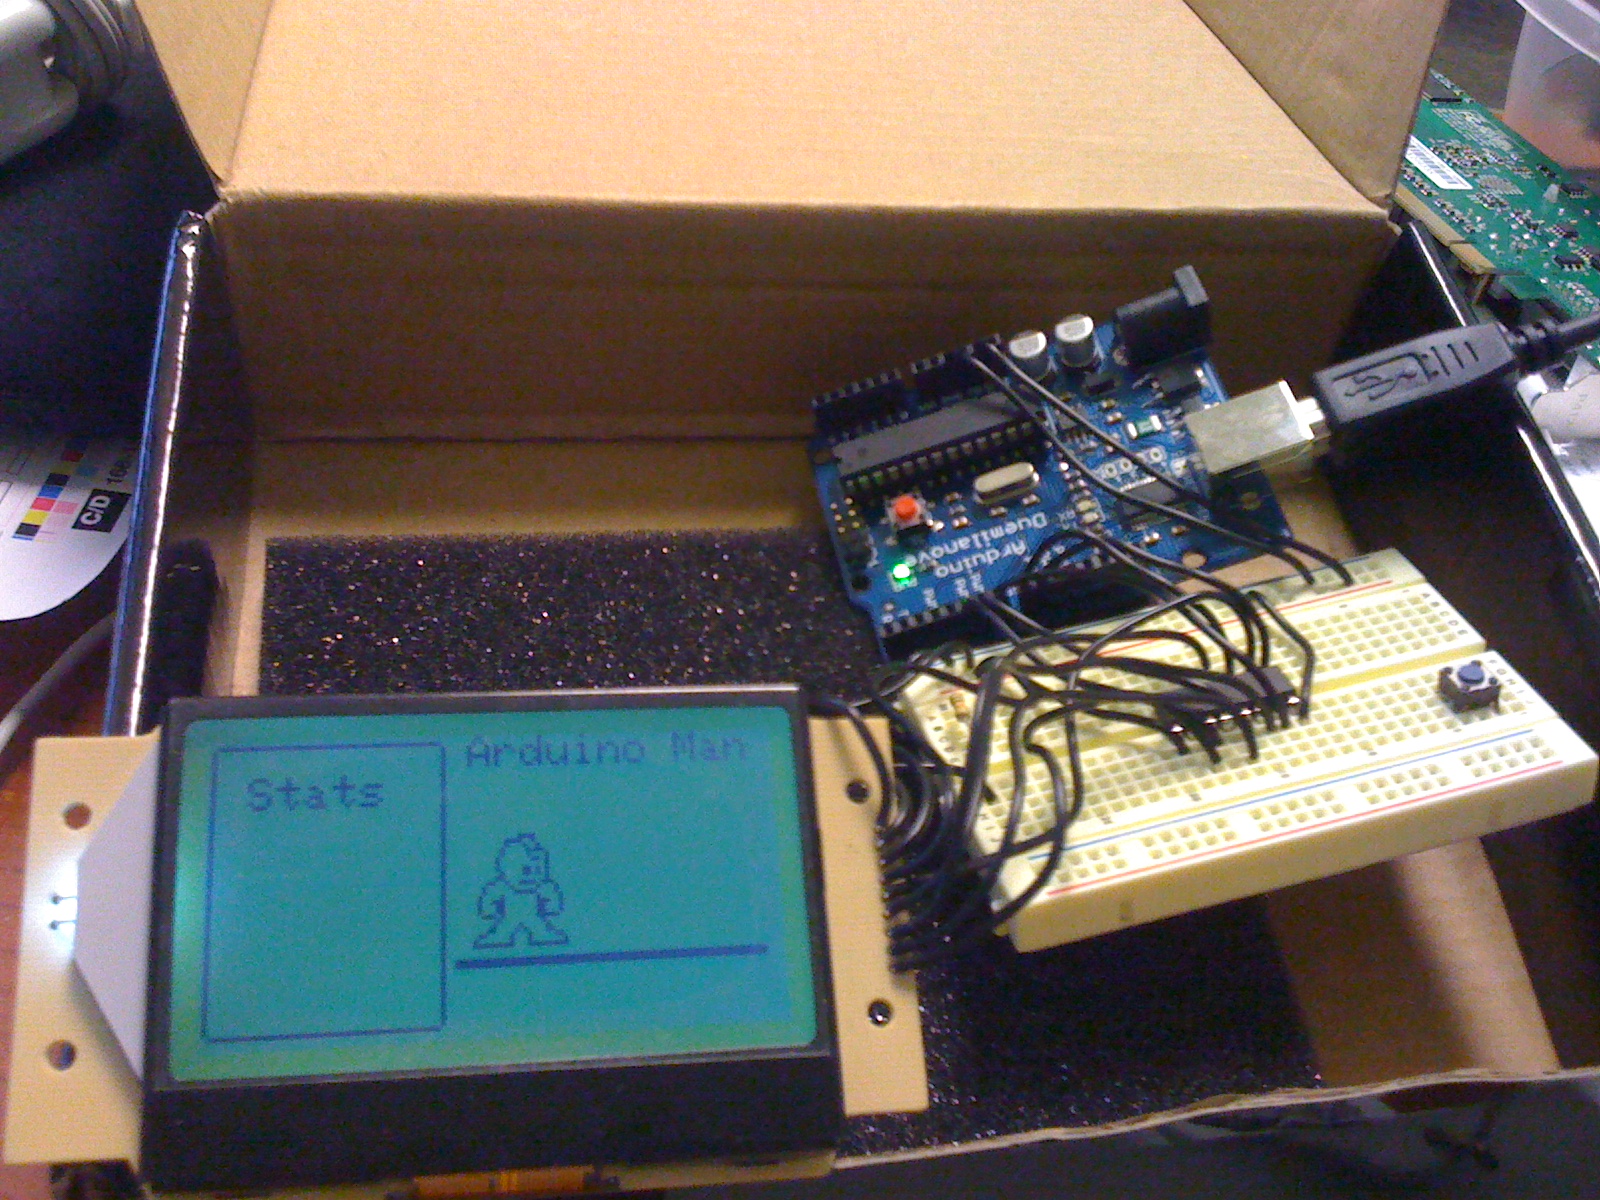
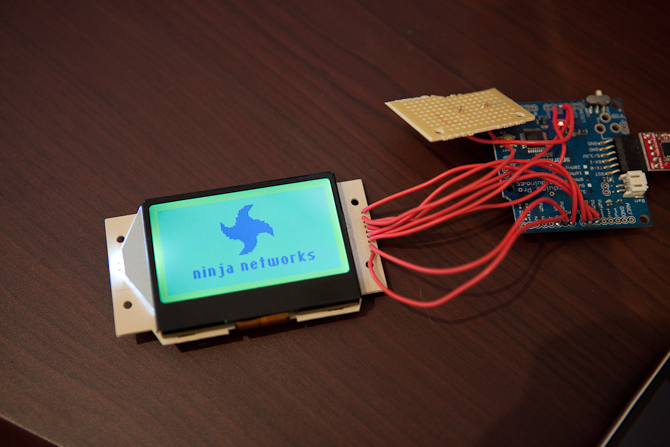
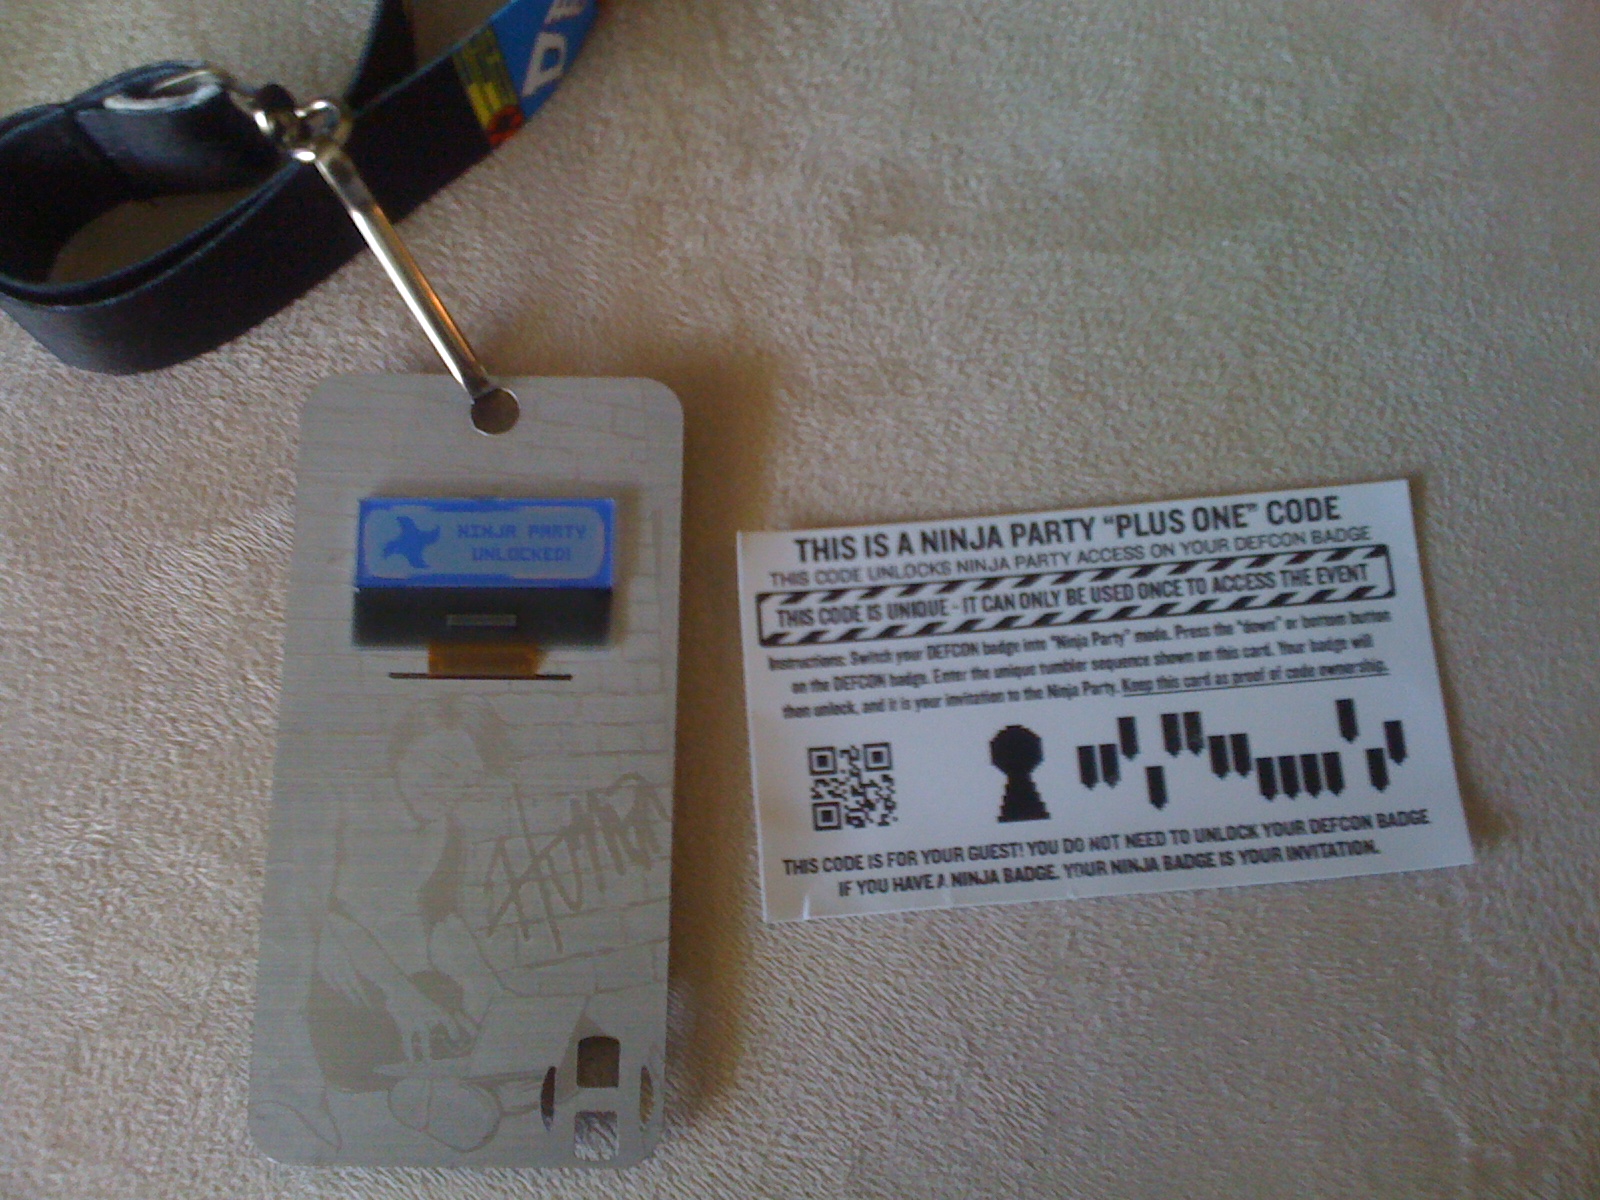
Here is the Ninja character that is displayed on the badge.

unsigned char ninja_large[] = {
 50, 46,
 0xfe, 0xfe, 0xfc, 0xf9, 0xf2, 0xf0, 0xf1, 0xf1,   /* 0x0 */
 0xf1, 0xf1, 0xe3, 0xe0, 0xe0, 0xc0, 0x80, 0x80,   /* 0x8 */
 0x03, 0x03, 0x01, 0x00, 0x00, 0x80, 0x80, 0xc0,   /* 0x10 */
 0xe0, 0xff, 0xff, 0xff, 0xff, 0xff, 0xff, 0xff,   /* 0x18 */
 0xff, 0xff, 0xff, 0xff, 0xff, 0xff, 0xff, 0xff,   /* 0x20 */
 0xff, 0xff, 0xfe, 0xfc, 0xf9, 0xf0, 0xe0, 0xe1,   /* 0x28 */
 0xe3, 0xff, 0x00, 0x00, 0x00, 0x00, 0x00, 0x00,   /* 0x30 */
 0xff, 0xff, 0xff, 0xff, 0xff, 0xfe, 0xfc, 0xf8,   /* 0x38 */
 0xf8, 0xf0, 0xf0, 0x70, 0x0c, 0x02, 0x01, 0x00,   /* 0x40 */
 0x80, 0xc0, 0xe0, 0x20, 0x60, 0x60, 0x20, 0xe0,   /* 0x48 */
 0x03, 0xff, 0xff, 0xff, 0xff, 0xff, 0xff, 0xff,   /* 0x50 */
 0xff, 0xff, 0xfe, 0xfc, 0xf8, 0xf0, 0xe0, 0xcd,   /* 0x58 */
 0x9b, 0x37, 0x6f, 0xdf, 0xbf, 0x7f, 0xff, 0xff,   /* 0x60 */
 0xff, 0xff, 0x00, 0x00, 0x00, 0x00, 0x00, 0x00,   /* 0x68 */
 0xff, 0xff, 0xff, 0xff, 0x00, 0x00, 0x00, 0x00,   /* 0x70 */
 0x10, 0x0c, 0x03, 0x01, 0x00, 0x00, 0x00, 0x80,   /* 0x78 */
 0x00, 0x00, 0x00, 0x00, 0x00, 0x03, 0x48, 0xd0,   /* 0x80 */
 0xc0, 0xe0, 0xfc, 0xf4, 0xf0, 0xf0, 0xe0, 0xc0,   /* 0x88 */
 0x80, 0x07, 0x0f, 0x1f, 0x3f, 0x7f, 0xff, 0xff,   /* 0x90 */
 0xff, 0xff, 0xff, 0xff, 0xff, 0xff, 0xff, 0xff,   /* 0x98 */
 0xff, 0xff, 0x00, 0x00, 0x00, 0x00, 0x00, 0x00,   /* 0xa0 */
 0xff, 0xff, 0xff, 0xff, 0x3f, 0x0f, 0x0f, 0x0f,   /* 0xa8 */
 0x0f, 0x0c, 0x38, 0xf0, 0x00, 0x00, 0x00, 0x00,   /* 0xb0 */
 0x00, 0x01, 0x00, 0x00, 0x00, 0xf0, 0xfe, 0x13,   /* 0xb8 */
 0x41, 0x21, 0x83, 0x07, 0x07, 0x0f, 0x3f, 0xff,   /* 0xc0 */
 0x7f, 0xff, 0xff, 0xff, 0xff, 0xff, 0xff, 0xff,   /* 0xc8 */
 0xff, 0xff, 0xff, 0xff, 0xff, 0xff, 0xff, 0xff,   /* 0xd0 */
 0xff, 0xff, 0x00, 0x00, 0x00, 0x00, 0x00, 0x00,   /* 0xd8 */
 0xff, 0xff, 0xff, 0xff, 0xff, 0xfc, 0xf0, 0xc0,   /* 0xe0 */
 0x00, 0x08, 0x10, 0x10, 0x08, 0x00, 0x0f, 0x7f,   /* 0xe8 */
 0xff, 0xff, 0xff, 0x7f, 0x00, 0x00, 0x00, 0x10,   /* 0xf0 */
 0x88, 0x90, 0xc0, 0xff, 0xff, 0xff, 0xff, 0xff,   /* 0xf8 */
 0xff, 0xff, 0xff, 0xff, 0xff, 0xff, 0xff, 0xff,   /* 0x100 */
 0xff, 0xff, 0xff, 0xff, 0xff, 0xff, 0xff, 0xff,   /* 0x108 */
 0xff, 0xff, 0x00, 0x00, 0x00, 0x00, 0x00, 0x00,   /* 0x110 */
 0xf8, 0xf0, 0xe0, 0x80, 0x00, 0x00, 0x00, 0x00,   /* 0x118 */
 0x00, 0x00, 0x00, 0x04, 0x3c, 0xfc, 0xfc, 0xfc,   /* 0x120 */
 0xfc, 0xfc, 0xfc, 0x0c, 0x04, 0x04, 0x04, 0x04,   /* 0x128 */
 0x04, 0x04, 0x04, 0x84, 0xc4, 0xe4, 0xf4, 0xfc,   /* 0x130 */
 0xfc, 0xfc, 0xfc, 0xfc, 0xfc, 0xfc, 0xfc, 0xfc,   /* 0x138 */
 0xfc, 0xfc, 0xfc, 0xfc, 0xfc, 0xfc, 0xfc, 0xfc,   /* 0x140 */
 0xfc, 0xfc, 0x00, 0x00, 0x00, 0x00, 0x00, 0x00,
};

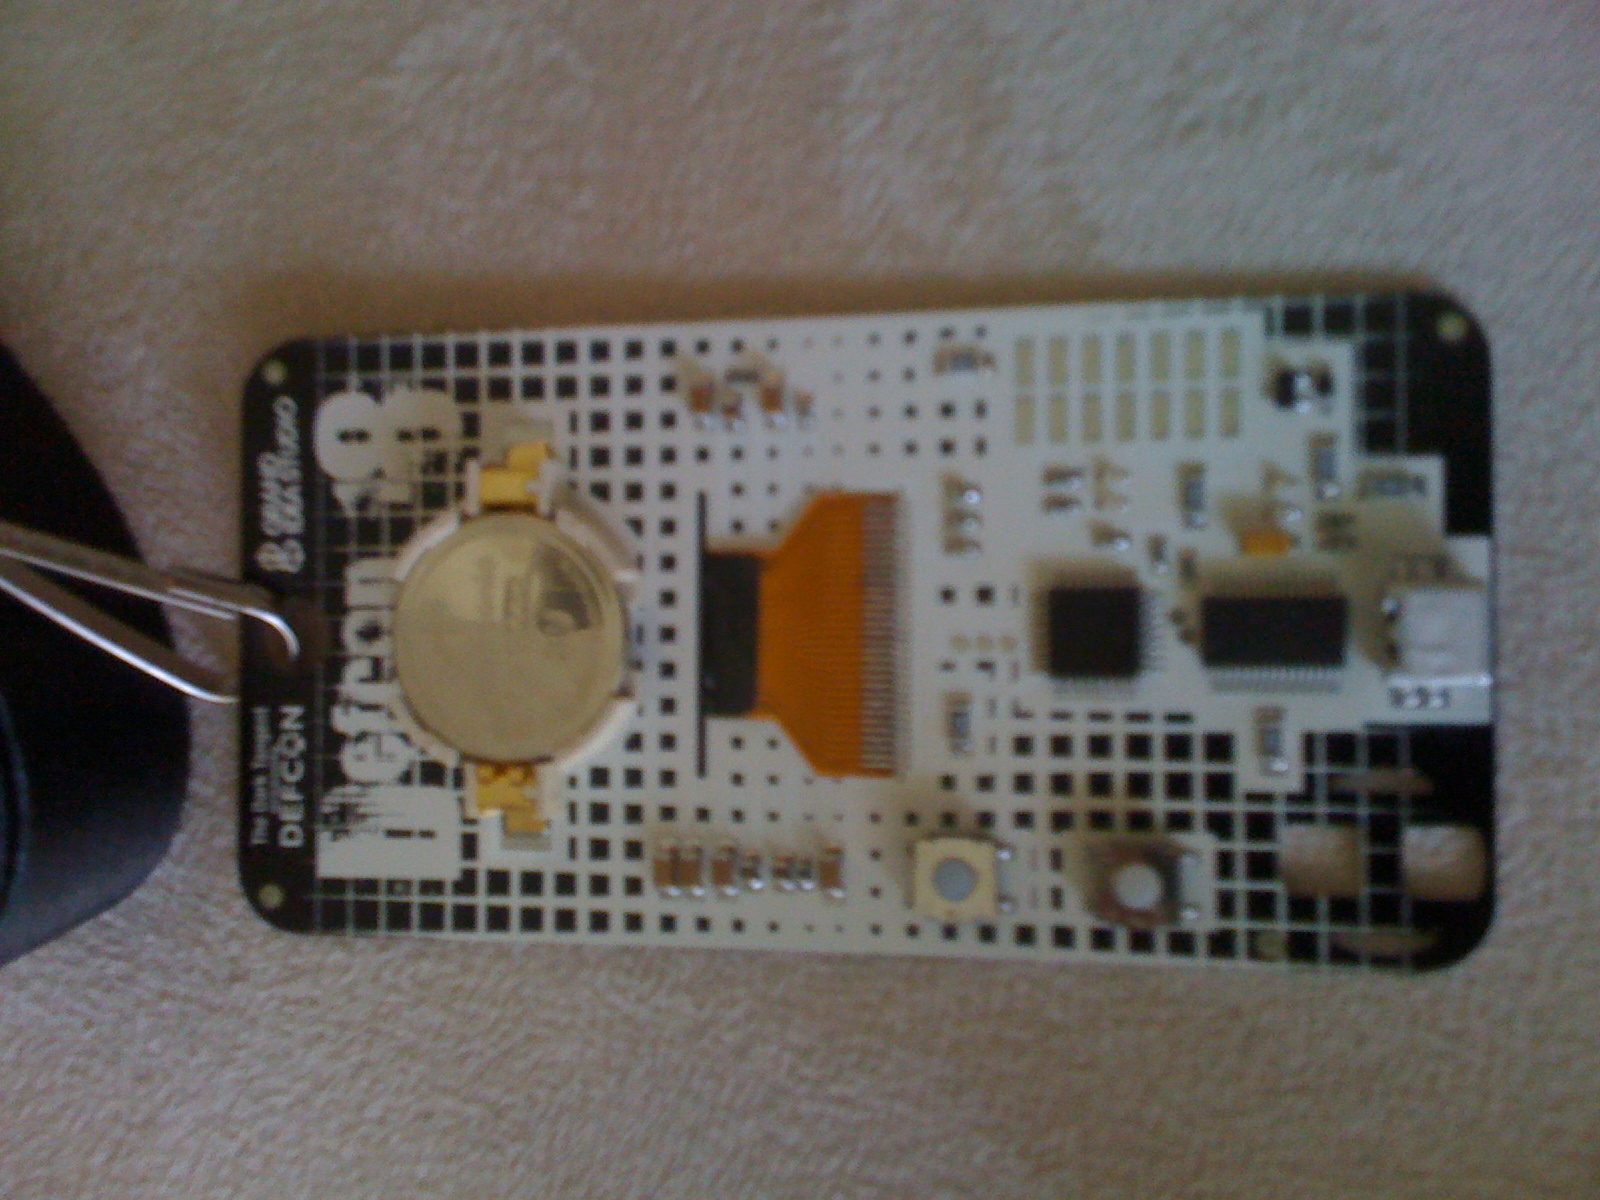
I will have more time to work with this over the weekend. I need to get my hands on a official Ninja badge to figure out the way the application is supposed to work.

New Stuff

| Comments

Some new toys came in last week. A while back before I started the badge project, I ordered a thermostat because it said it had built in Zigbee, a LCD, and some input buttons. I figured It would be a cool device to hack on but after looking into it more, most of the sites including the manufacturer side said that it was a Zwave module. So I kinda wrote that off as a bad buy. But after getting it in I found out It did have Zigbee. It had an Xbee module that I could remove and use in other projects. Possibly to dev on the badge project.

Second I got my Arduino Pro 3.3v in. I didn’t realize how much easier it would be to have the nice FTDI cable to program it. I don’t have a built-in Serial adapter (Macbook Air) so I tried to use a the USB to Serial adapter while supplying the board with 9v, but the adapter I have kind of sucks so that board is on hold until I order the FTDI cable.

I was able to get some input buttons working on the dev board. I also switched to a bigger bread board to accommodate some more components. I had 6 push buttons but after doing some testing I found that only 4 of them actually worked. So I wired up the 4 that I had and I was then able to to move up, down, left, and right on the bottom menu. Next I need to figure out what this thing is going to actually do, be it a game or some other type of application.

Added Small Font

| Comments

I added a smaller font to the library. I wanted to fit some more text on the screen but didn’t have enough room with the default font.

Here is the font and a comparison.

Here is a start to a game menu. The goal of this project is to have a fully customizable and fully open Arduino board with a mounted LCD and Zigbee wireless. There are a lot of other shields out there that can potentially do the same thing but I personally would like to see it all incorporated onto one board.

If you would like to use the small font in your project you can download it here: ST7565-smallfont

Display Progress

| Comments

I took some time yesterday to sit down and play with the display. As I mentioned before I’m currently using Ladyada’s ST7565 library. I used a program “bitmap2LCD” to make a 128x64 background image. In that program you can choose which direction you want the display table to be laid out. If you are using this program and ST7565 lib then you want to choose the “down” arrows when exporting your bitmap to a file. Here’s a pic of one of the display images I was playing with.

I’m not really sure what the name of the badge is going to be when I get done but I just threw that in there for lack of a better name.

EDIT: another pic for those mega man fans.

LCD Testing

| Comments

My LCD came in on Saturday from Adafruit. I would recommend them if you are looking for some kit type stuff. No hassles and fast shipping (from NY).

Here is the LCD with some wires that I soldered to it.

Adafruit included a library (which is awesome) that you can download from their github page. It comes with an example which is great for testing it out. I thought it was funny how they loaded their logo into the buffer when you load the library. It took me a second to figure out why I couldn’t use glcd.display(); without getting their logo to show. I have a feeling I will be tweaking the header file when I get some time.

That’s about a far as I got on Saturday night. Looking forward for the Arduino Pro 3.3v to come in this week.

LCD Ordered

| Comments

I order this LCD a couple days ago from adafruit.

After doing some research into electronic badges I found out that most of them are using somewhere around 3.3v instead of 5v+. This LCD’s input is 3.3v. It does come with a 4050 level shift so that I can test it with one of the Arduinos I already have. I was also thinking about getting an arduino pro 3.3v (they also have 5v version) so that I didn’t have to use the extra level shifter. Sparkfun has one.

After doing some more poking around, I saw that the Ninja guys started with the same approach.

Hopefully the LCD comes in today/tomorrow so that I can do some testing this weekend.

Starting Some Development

| Comments

I got another Arduino in the mail yesterday. I am going to look into which GLCD is going to be best for this project. I think I am just going to order the generic 128x64 LCD for now to get started.

Back From DEFCON 18

| Comments

Well, I just got back from DEFCON 18 late last night and I must say I had a blast.

First, I was able to write a little something for the Router Arduino project. I only had a couple hours to write it on the plane, so It isn’t very cool but at least I had something. Here is the sketch if you care to take a look. I will write up a full page on the project.

As always the badges were awesome. Here is a picture of them.

The Ninja Networks Party Badge was absolutely amazing. It totally dwarfed the official DEFCON badge. I was able to pick up a plus one ticket in the hardware hacking village. I started helping to help a girl (leah) get the bonus item in the Ninja Badge game. Apparently you could solder the Tx and GND from the DEFCON badge to the Rx and GND on the Ninja badge and it would send the string “NINJA”, which would give you an unlocked Item. After finding out it wasn’t working we tried to pull out my Arduino and send the string to it trough TTL that way. After a whipping up a little sketch, cstone (developed the badge software) came over and tried to help us get that working. We didn’t have any luck and came to the conclusion there might be a bug in the software. We wern’t able to get real badges, but Mark and I we able to score some “Plus One” cards so that we could attend the party.

I got a chance to talk to both woz and cstone about developing the badge and they told me they would be releasing the Gerber/Eagle files along with the source for the program. I have some plans to modify it a bit and create another badge that plays or interacts with the the 2010 Ninja Party Badge. That is going to be my new project for the coming months. Luckily, Volty scored a Ninja badge for being a goon and agreed to let me test the badge I develop with the official one.

Here is a pic of the Ninja Badge.

http://www.wired.com/images_blogs/threatlevel/2010/07/defcon_ninja_eecue_001_ninja_badge.jpg

The Ninja Party was off the hook. The event was sponsored but Lookout and Facebook. The rented out a small hotel (the entire thing) and had free drinks for all the attendees. I met a lot of cool people and it was definitely one of the highlights of the trip.