unstdio.org

Not your standard io.

(Mostly) Finished. Leaving for Defcon.

| Comments

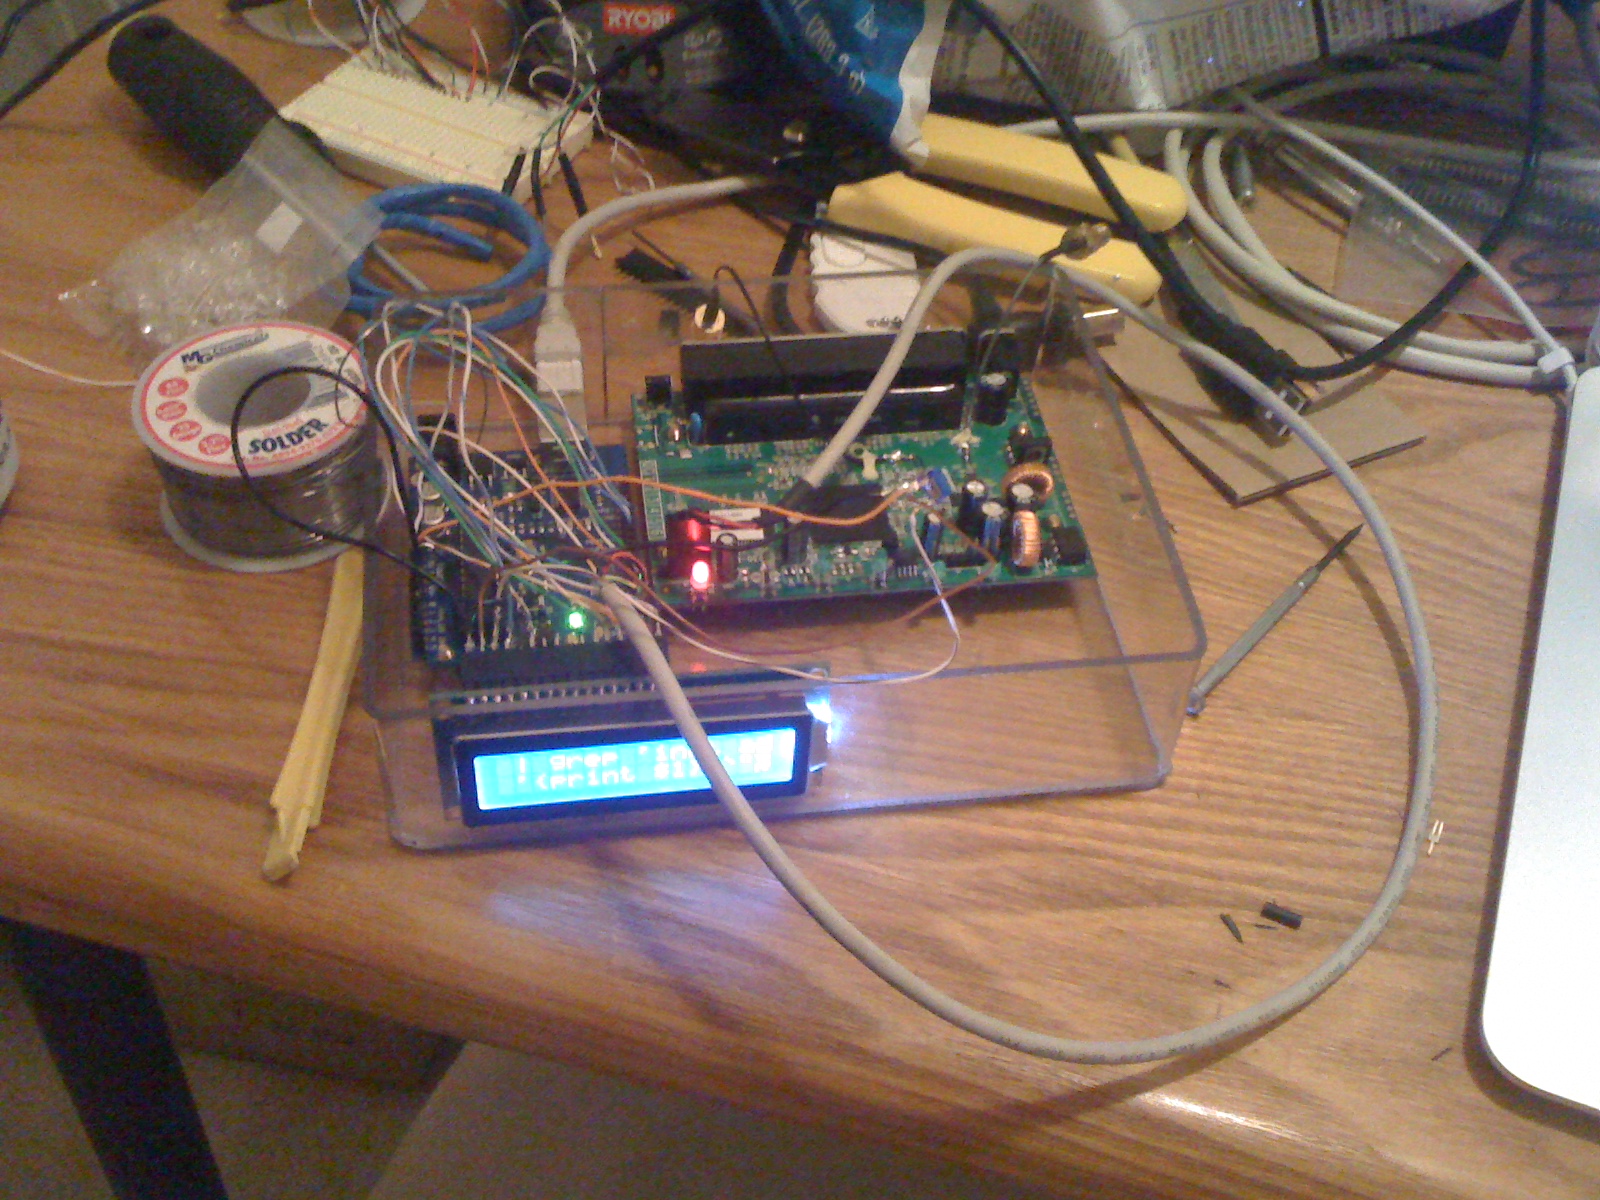
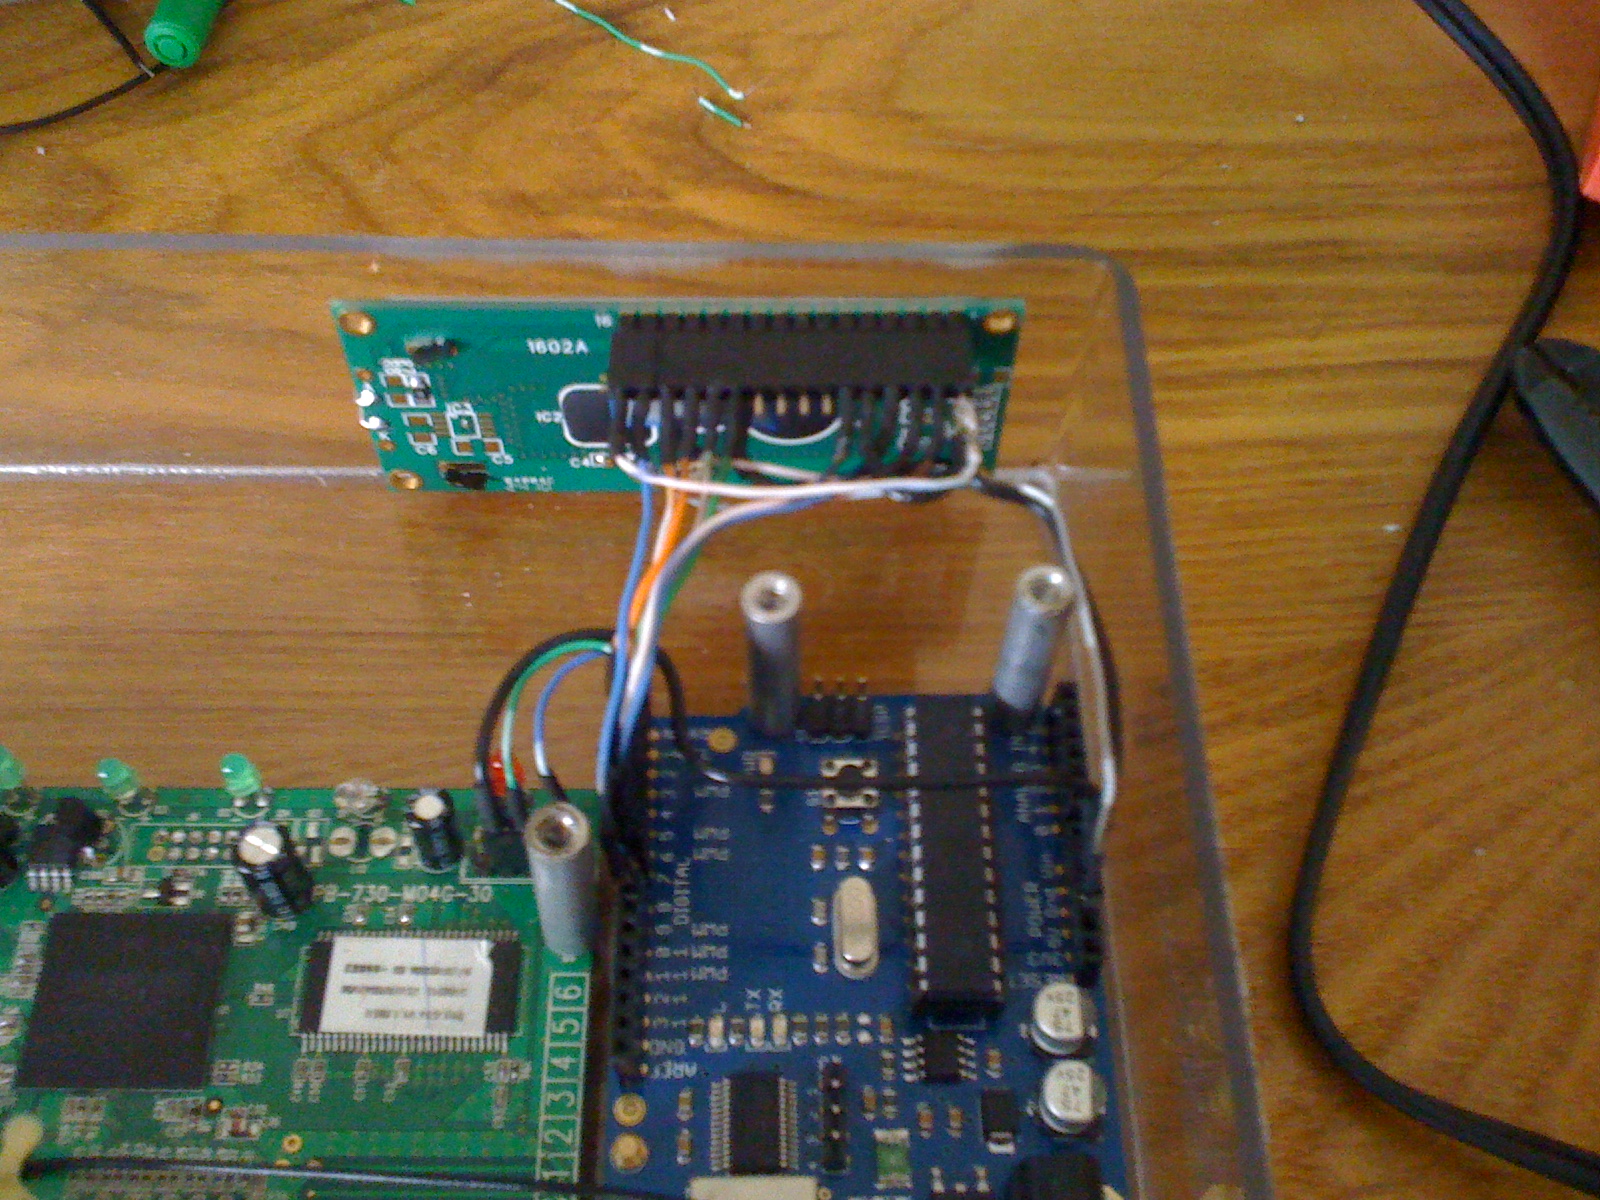
I got a chance to work on and (mostly) finish the Router Arduino project last night. I didn’t get to add anything extra like cool LEDs or anything but I did get the power to the Arduino and the Serial wired up. I still don’t have it doing anything cool yet but hopefully I can whip something cool up on the flight down there.

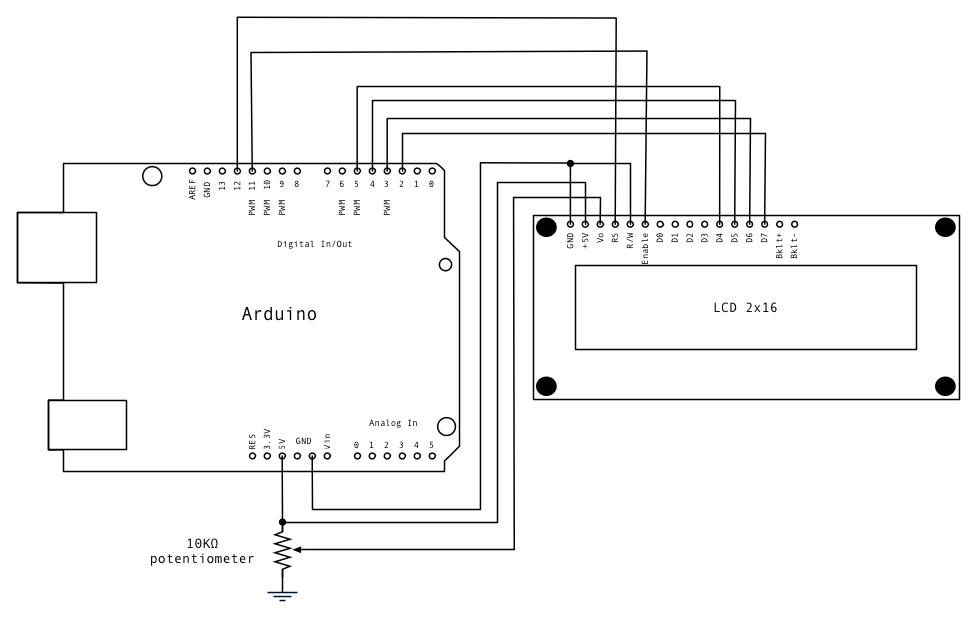
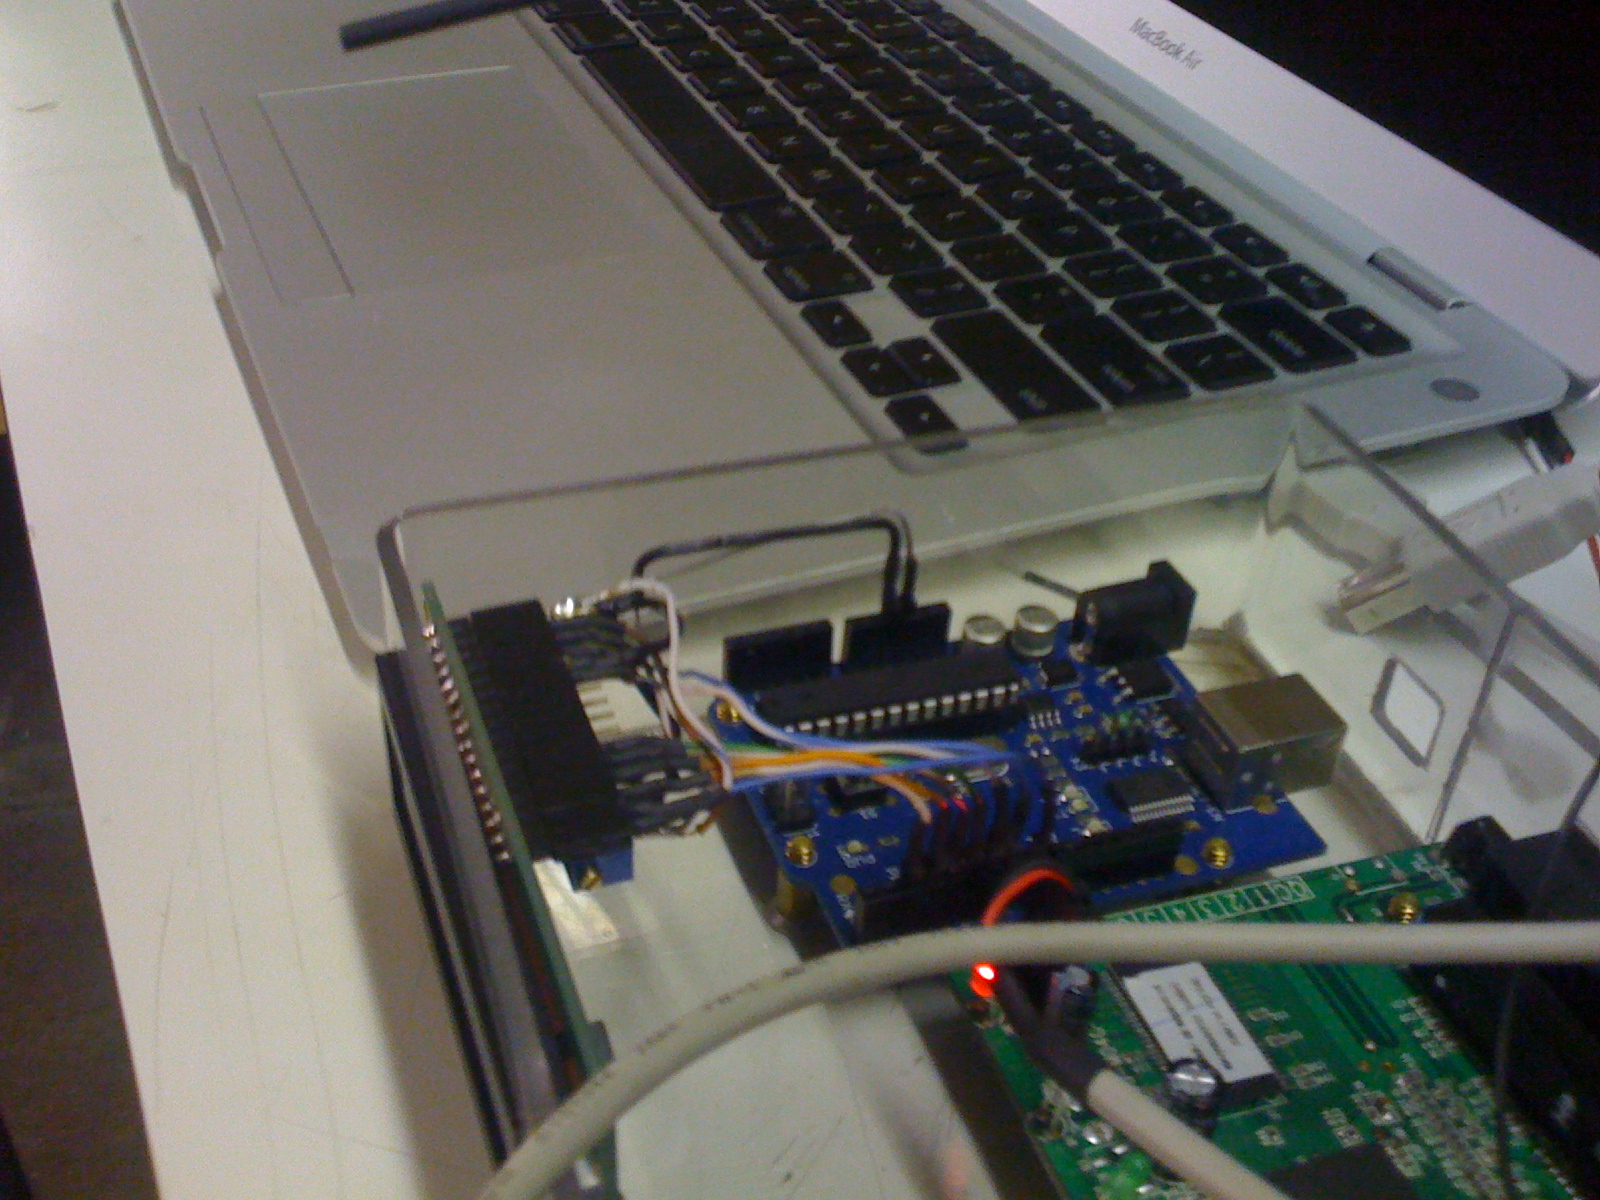
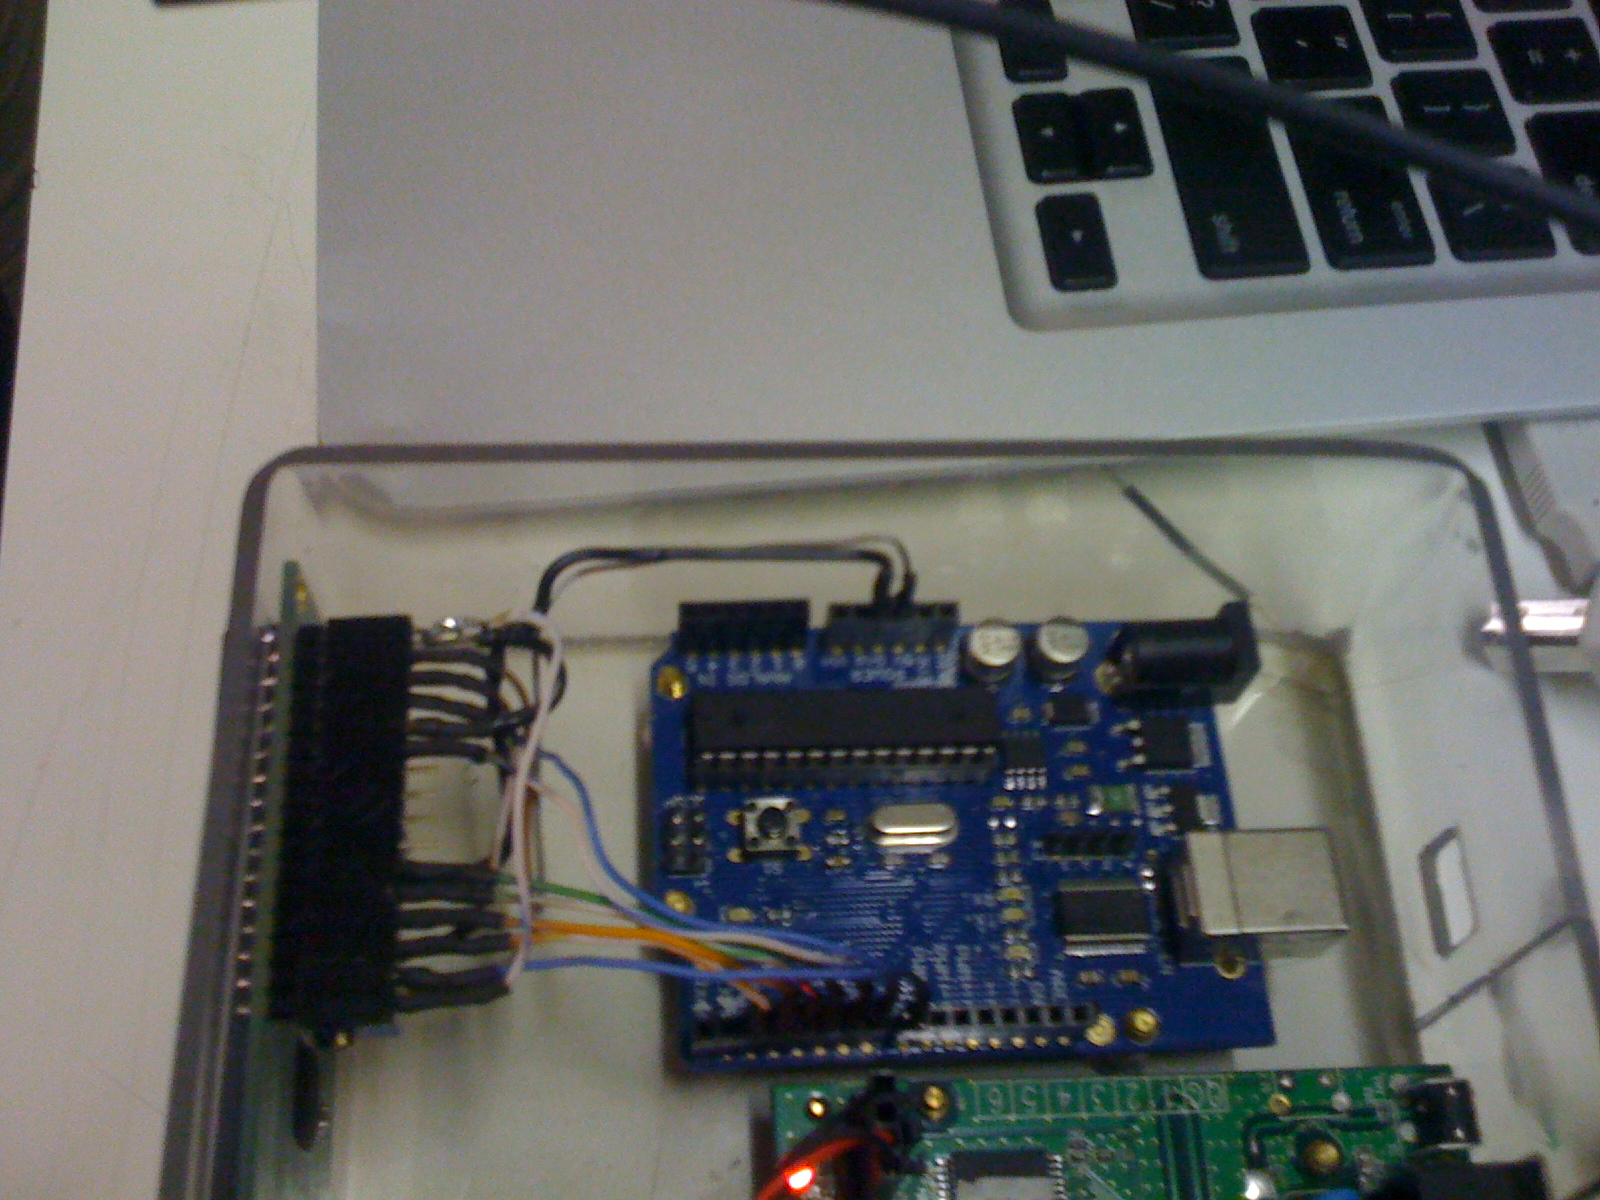
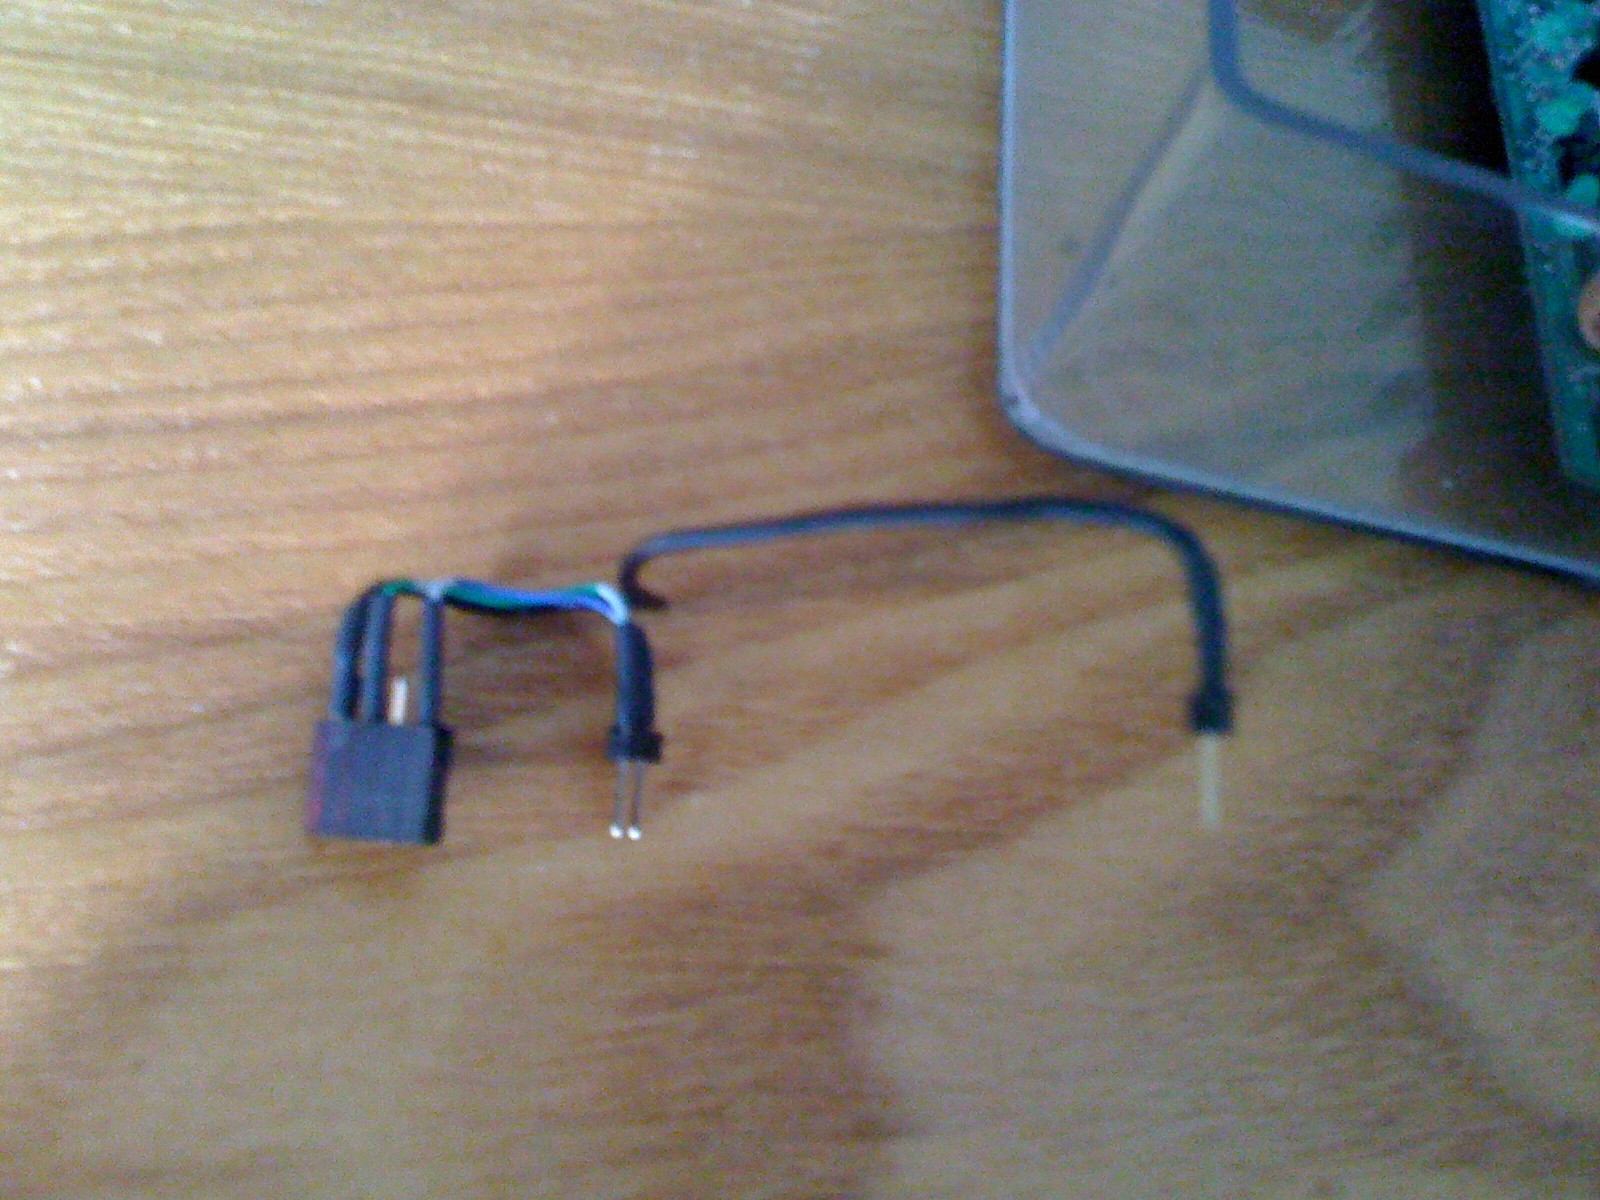
First I want to show the serial harness. I do have to say, I was a fan of the solid core wire for this project. It makes it almost like clay in the regard that you can mold and shape it however you want. The Serial Harness talks TTL from the Router to the Arduino. It uses a GND, Tx, and Rx on the router to go to the respective places on the arduino.

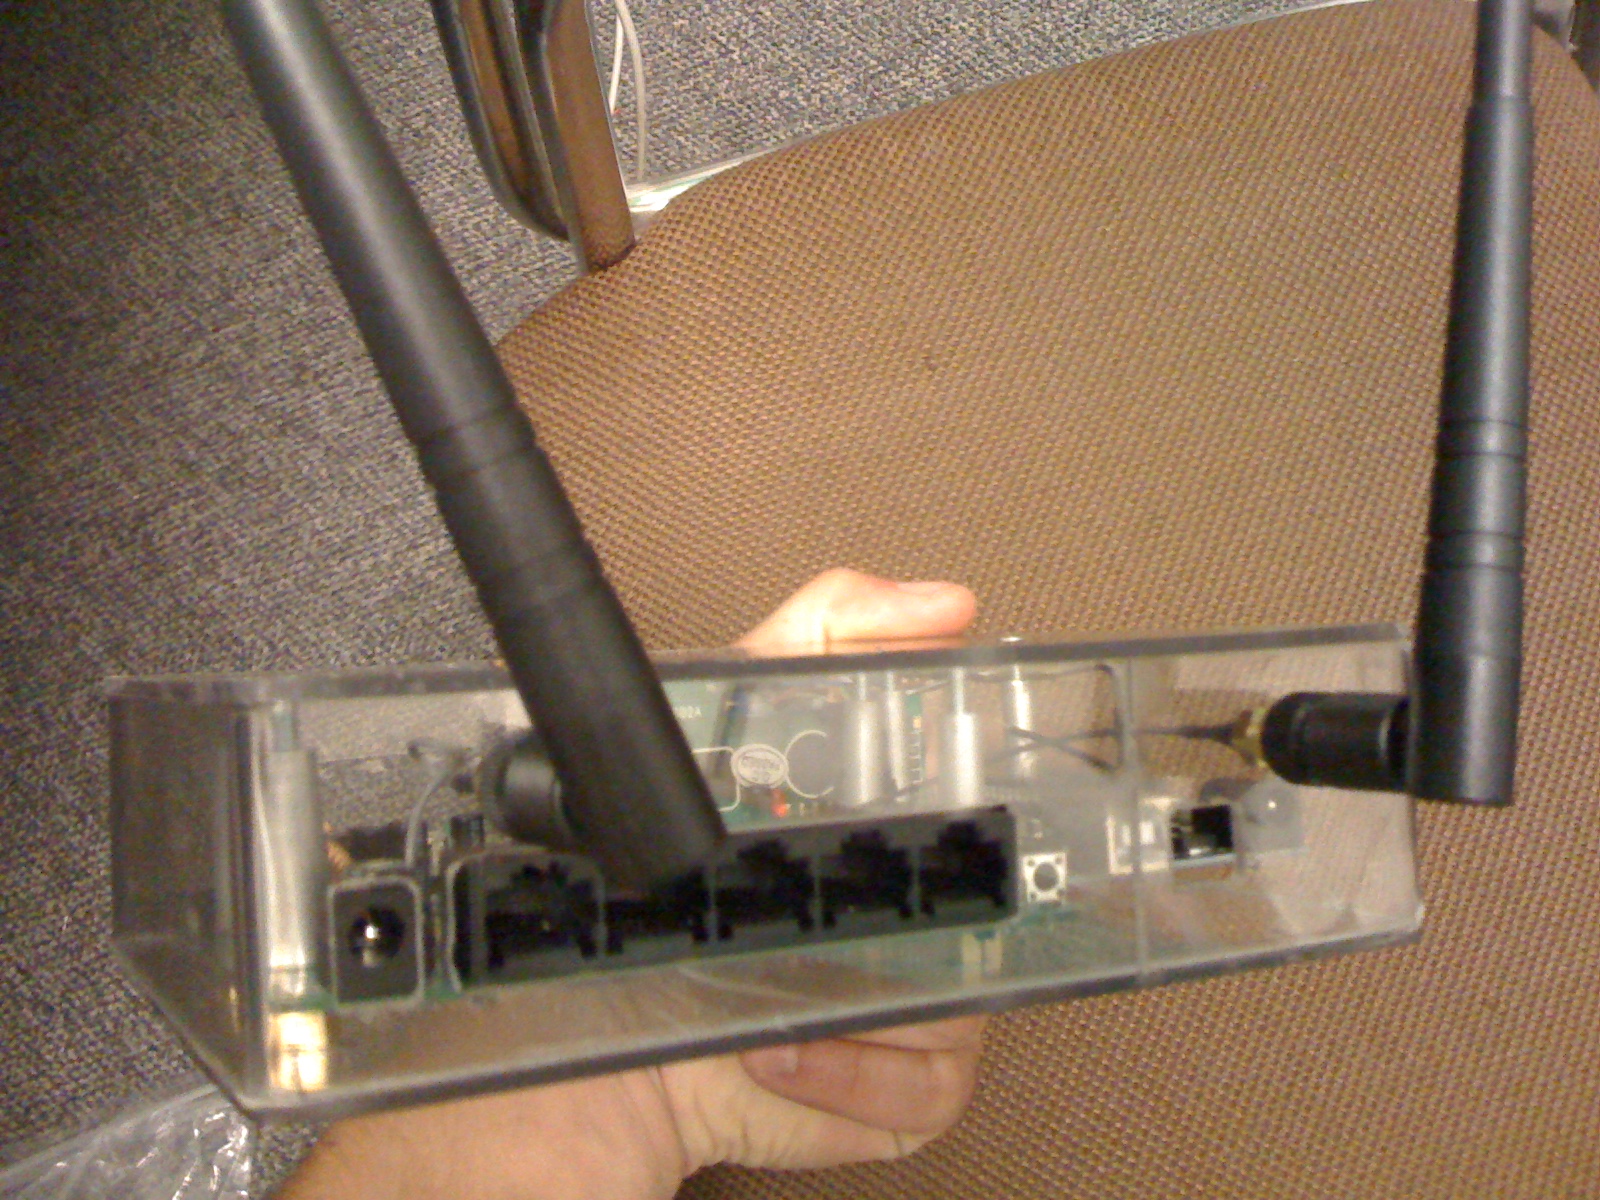
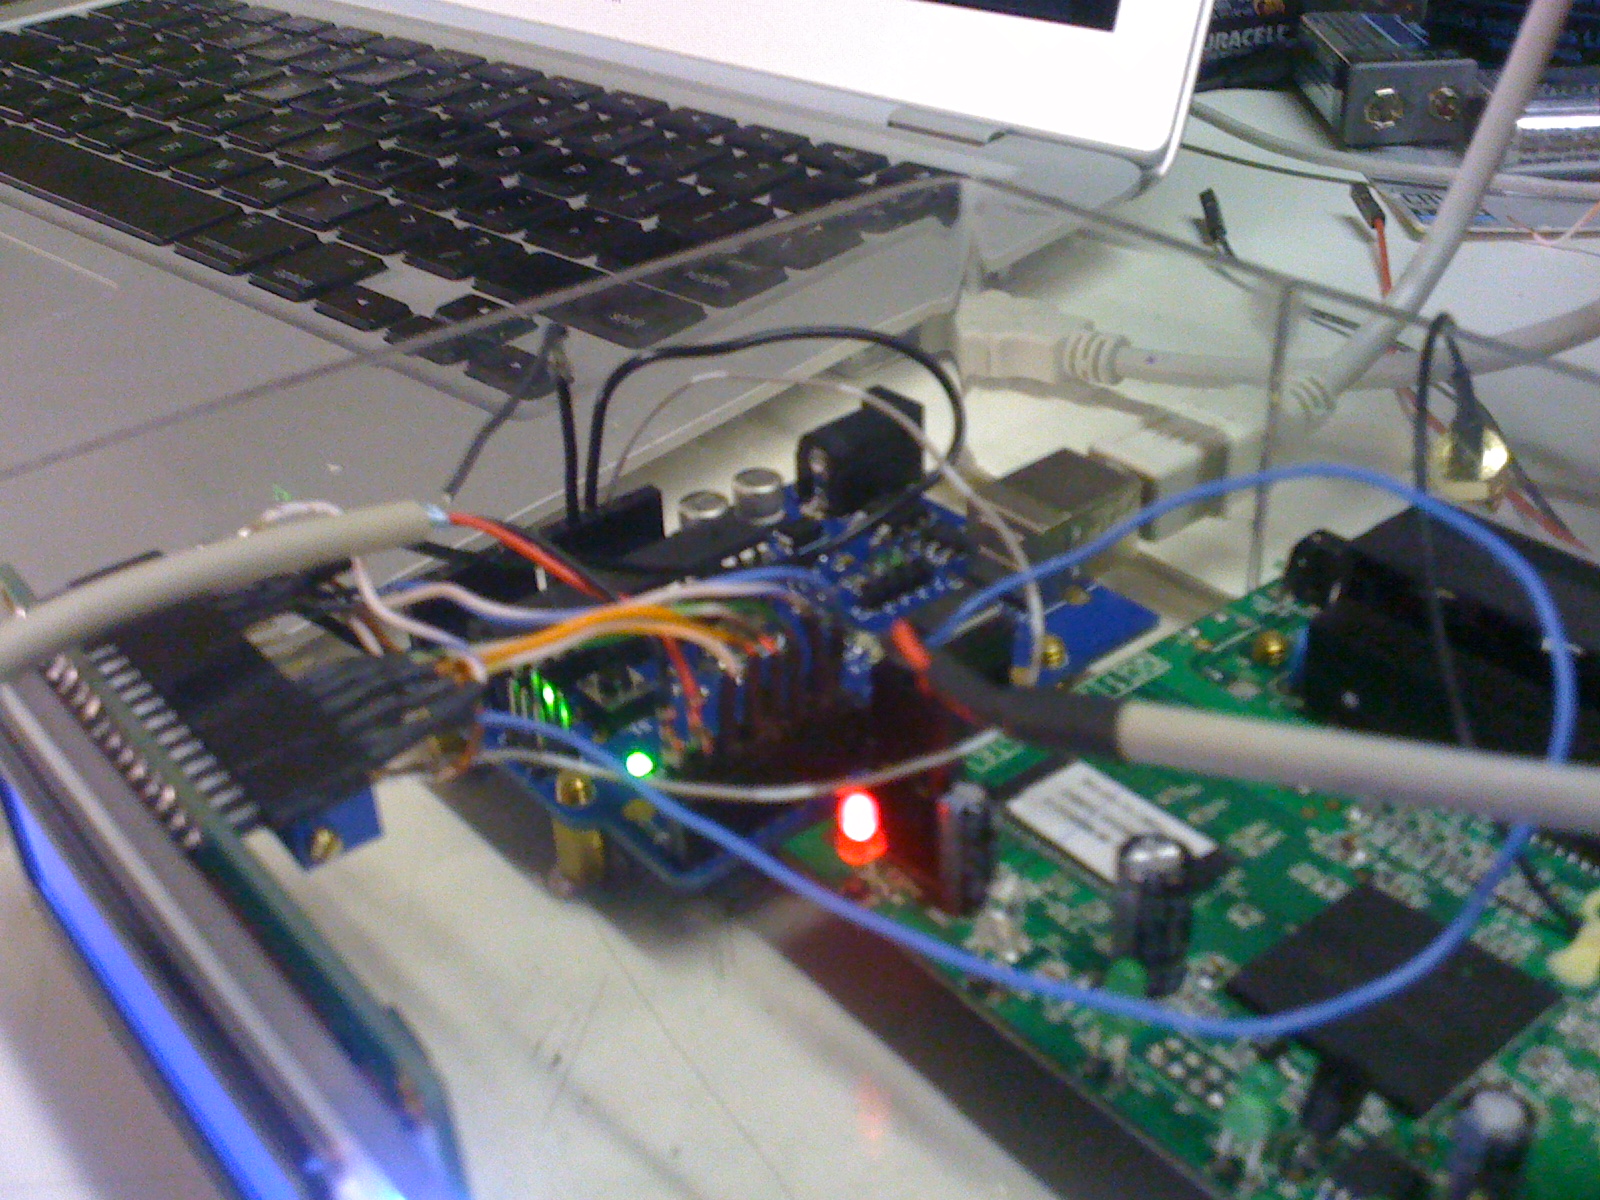
Here it is installed.

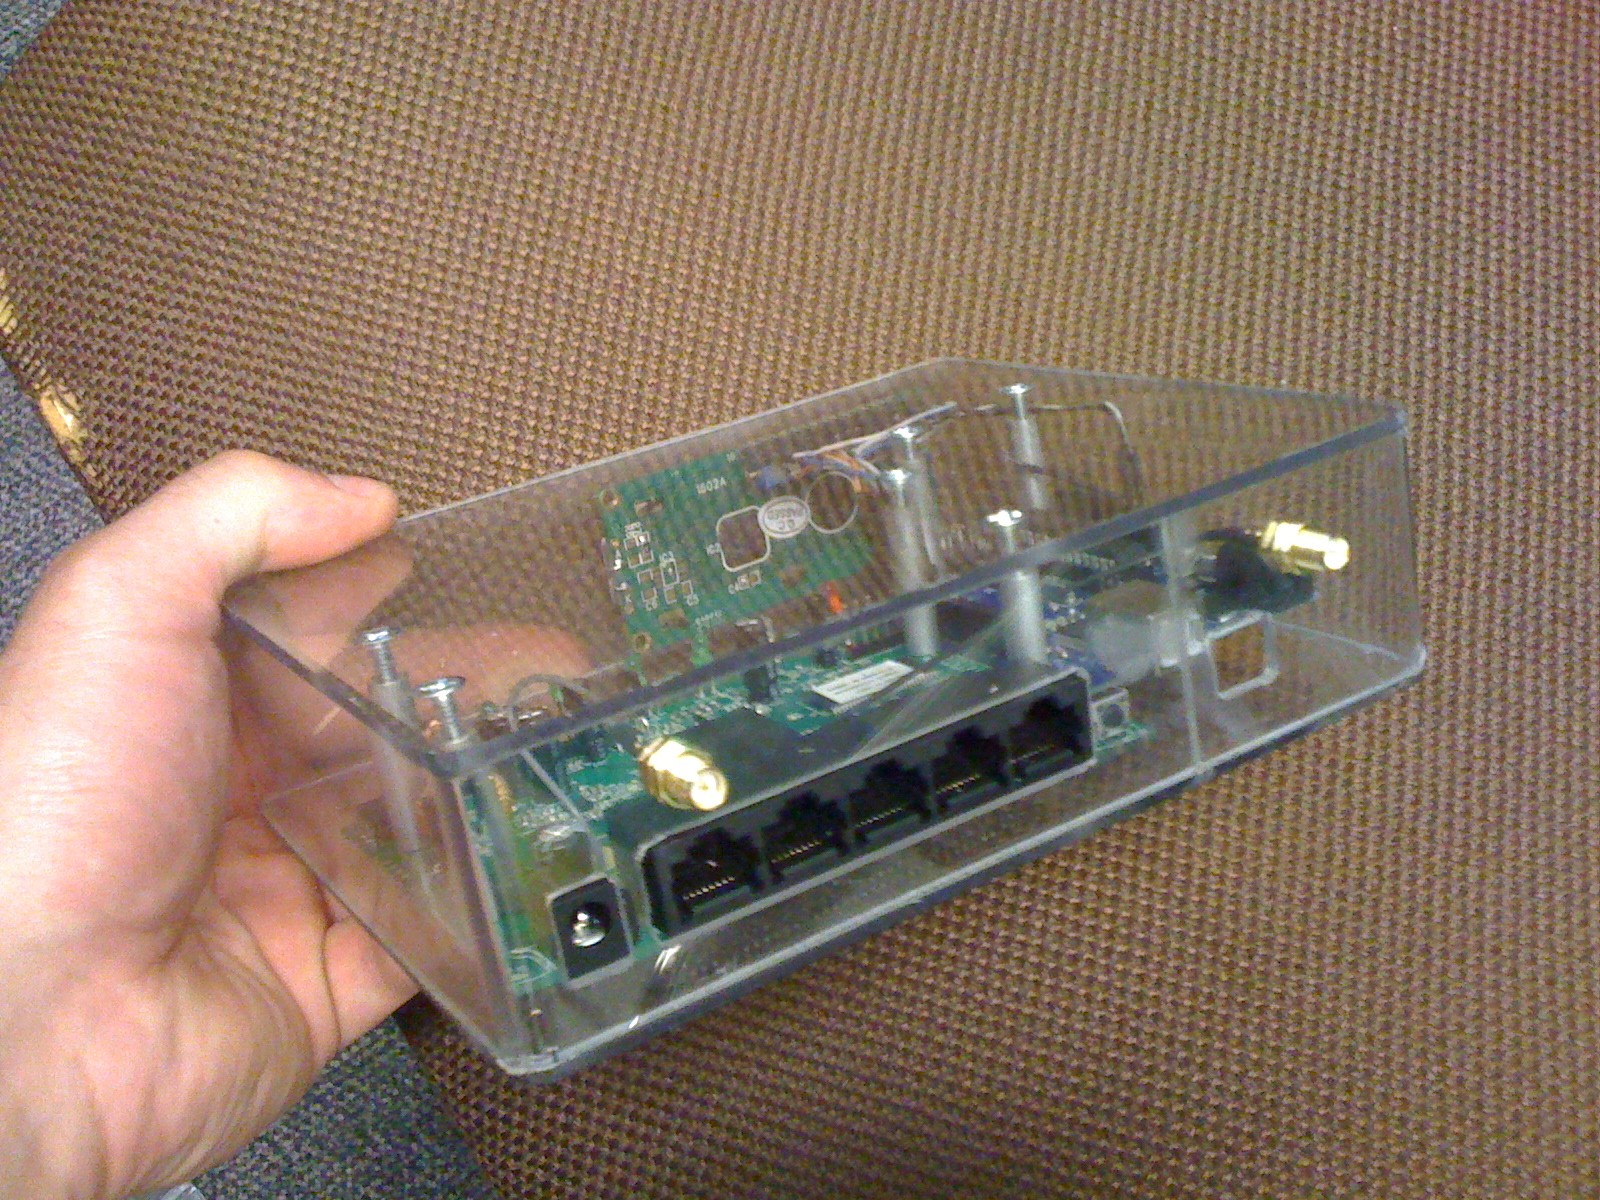
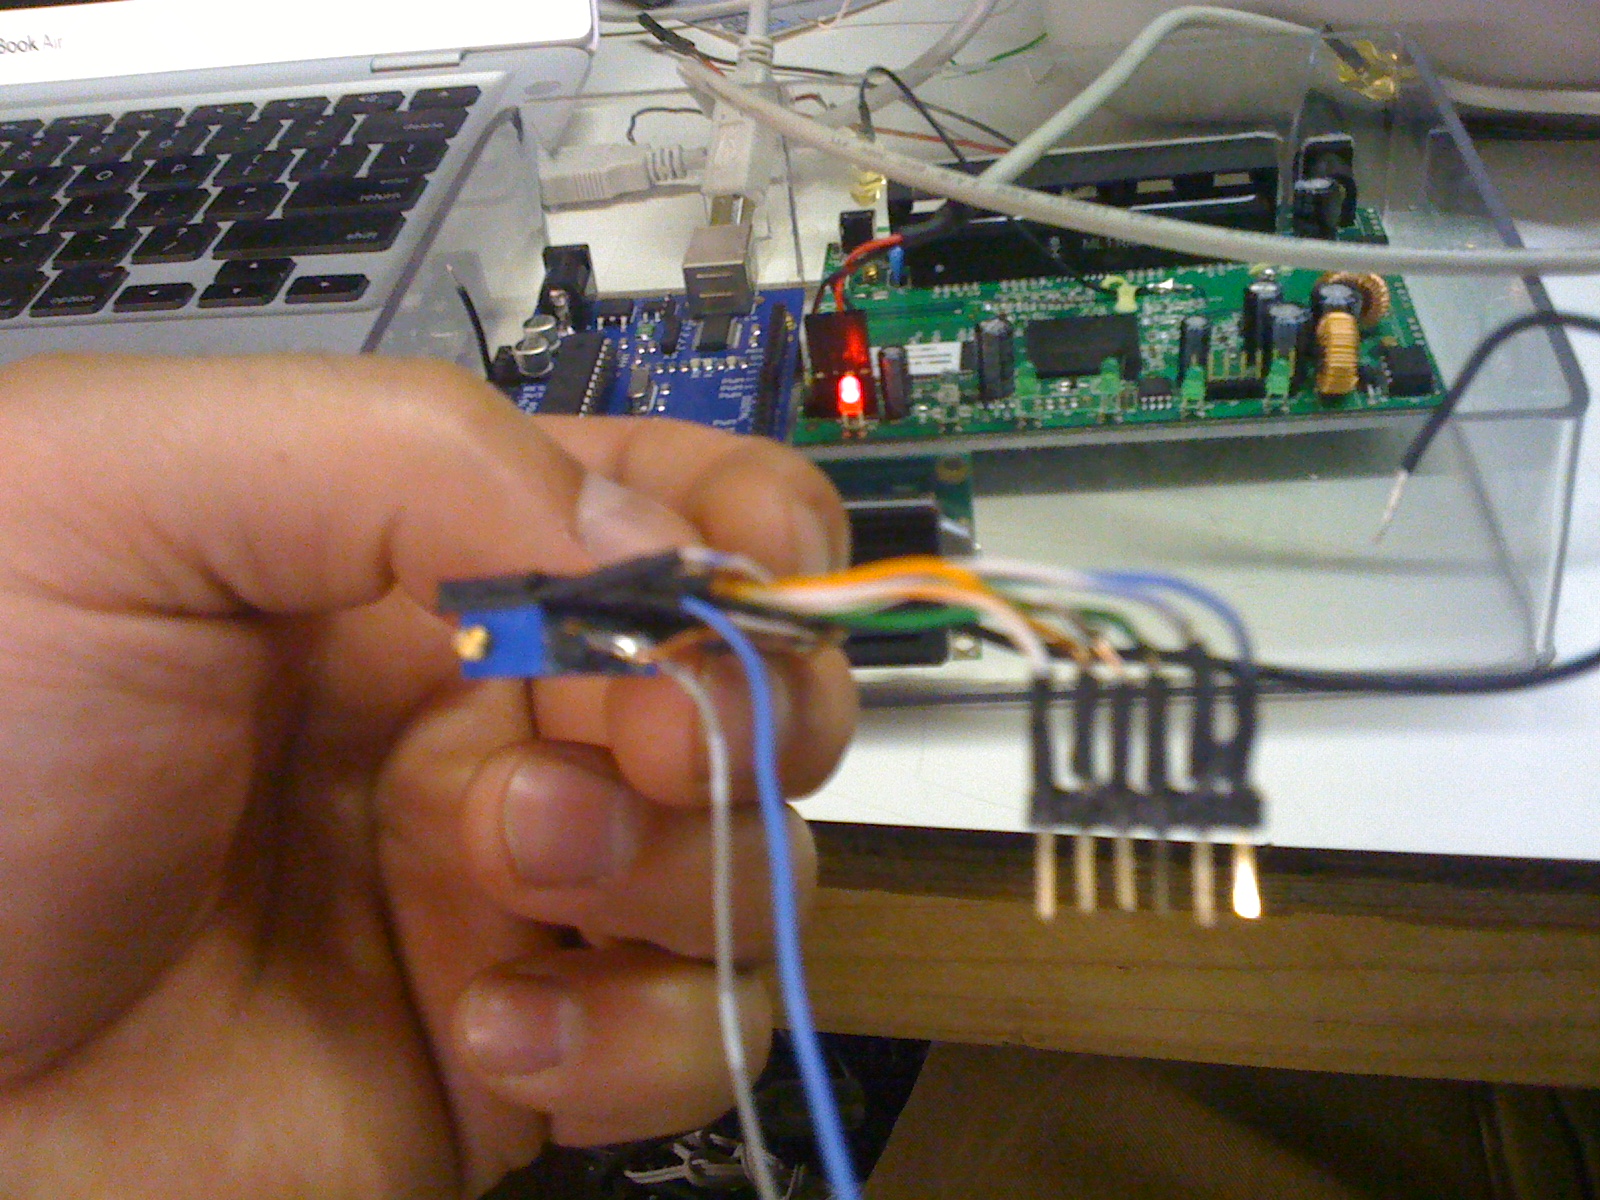
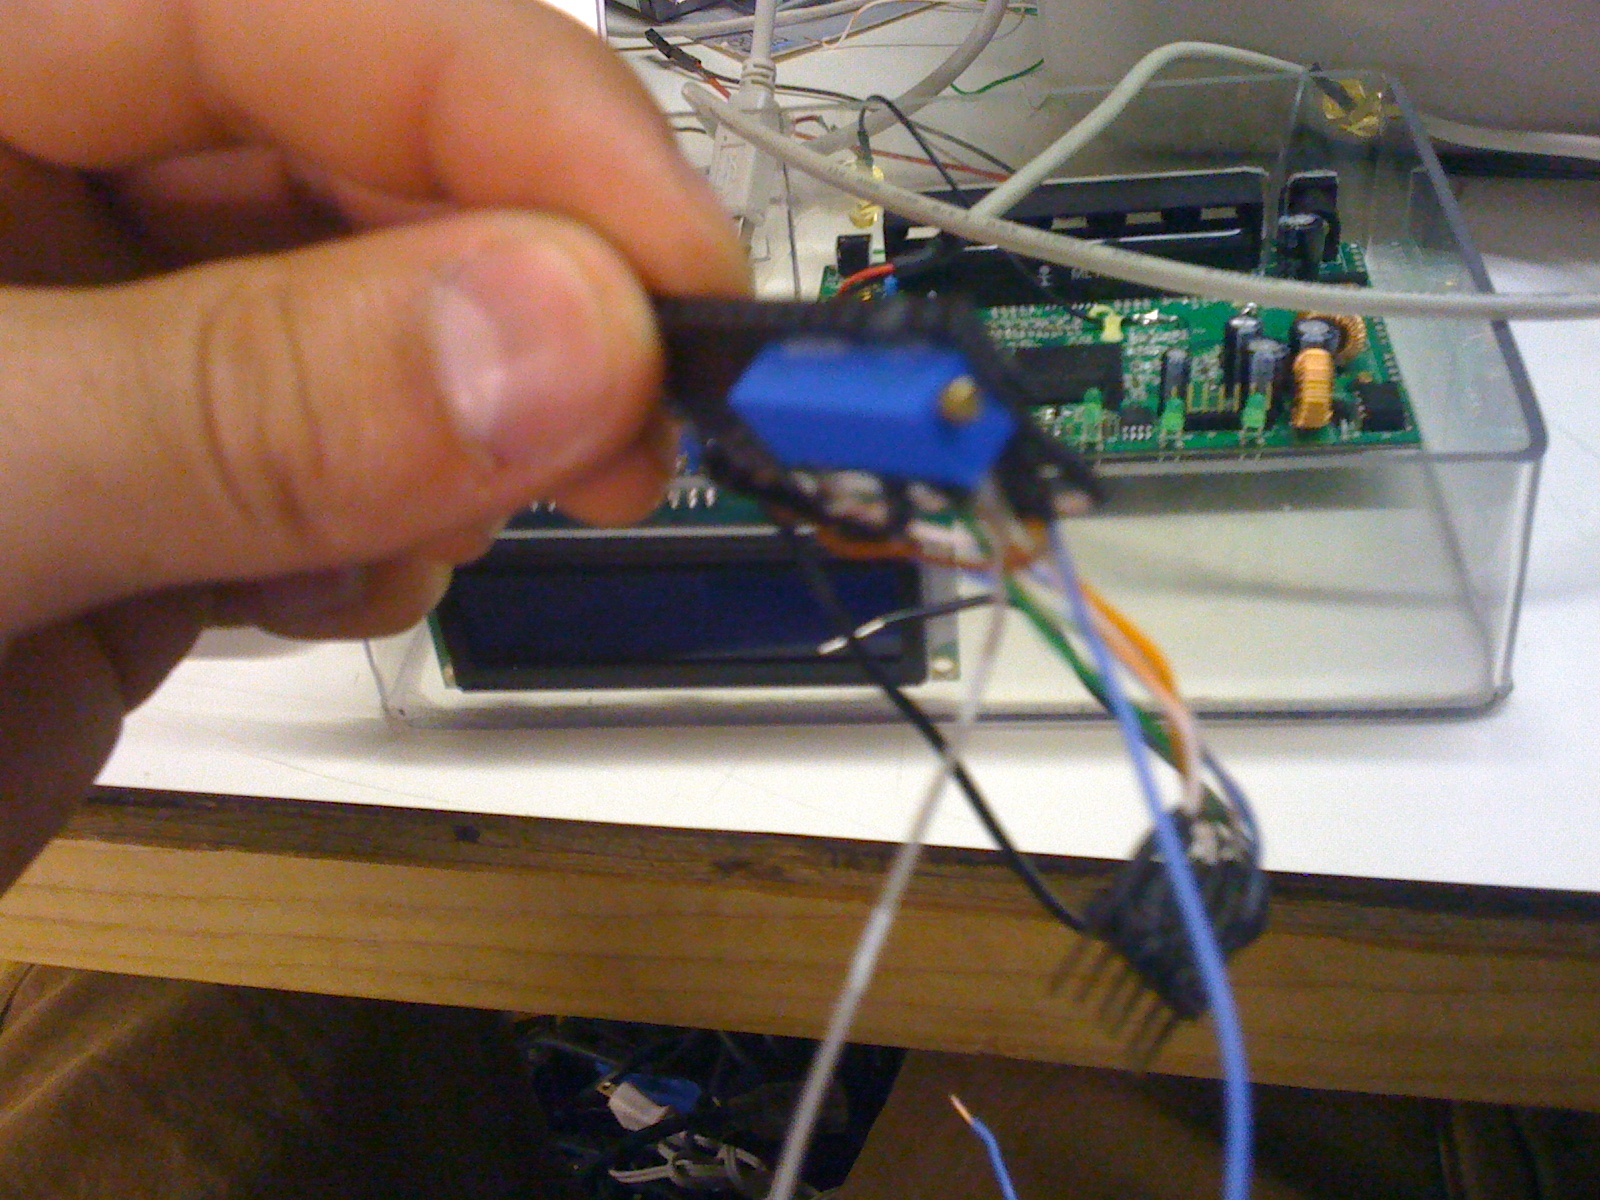
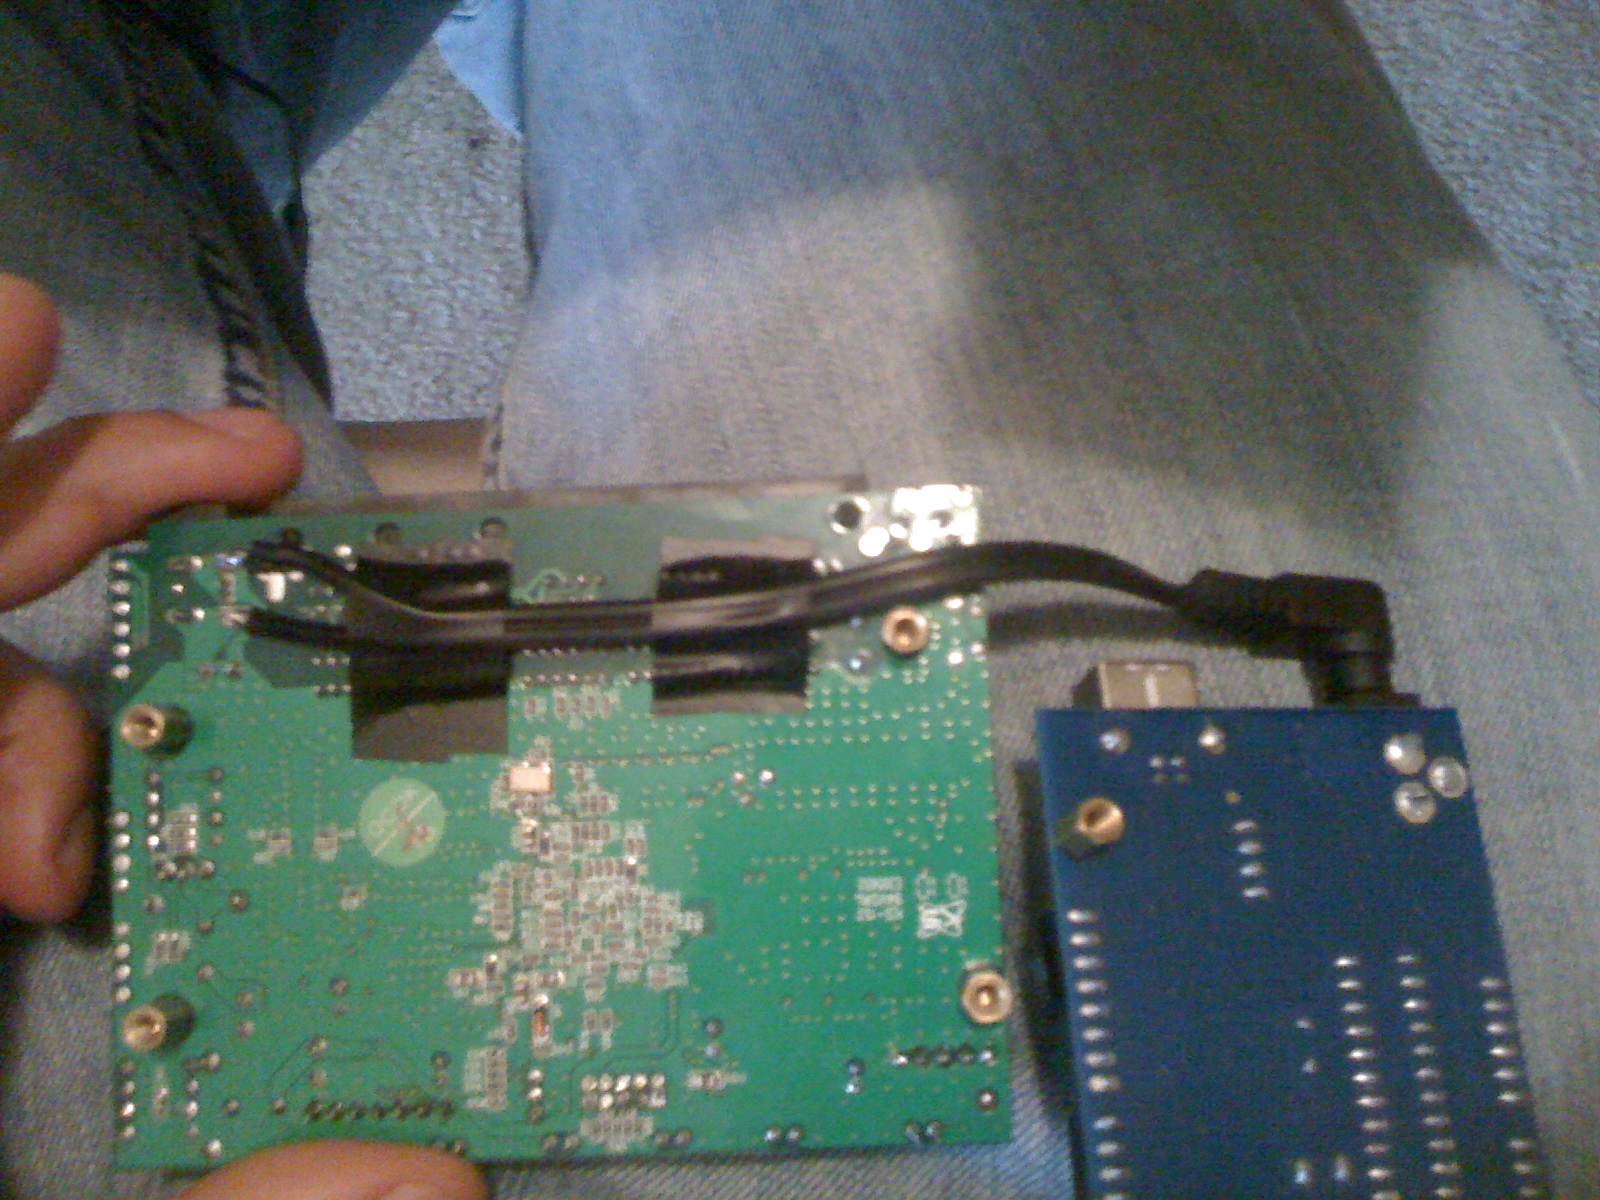
Here it is not installed.

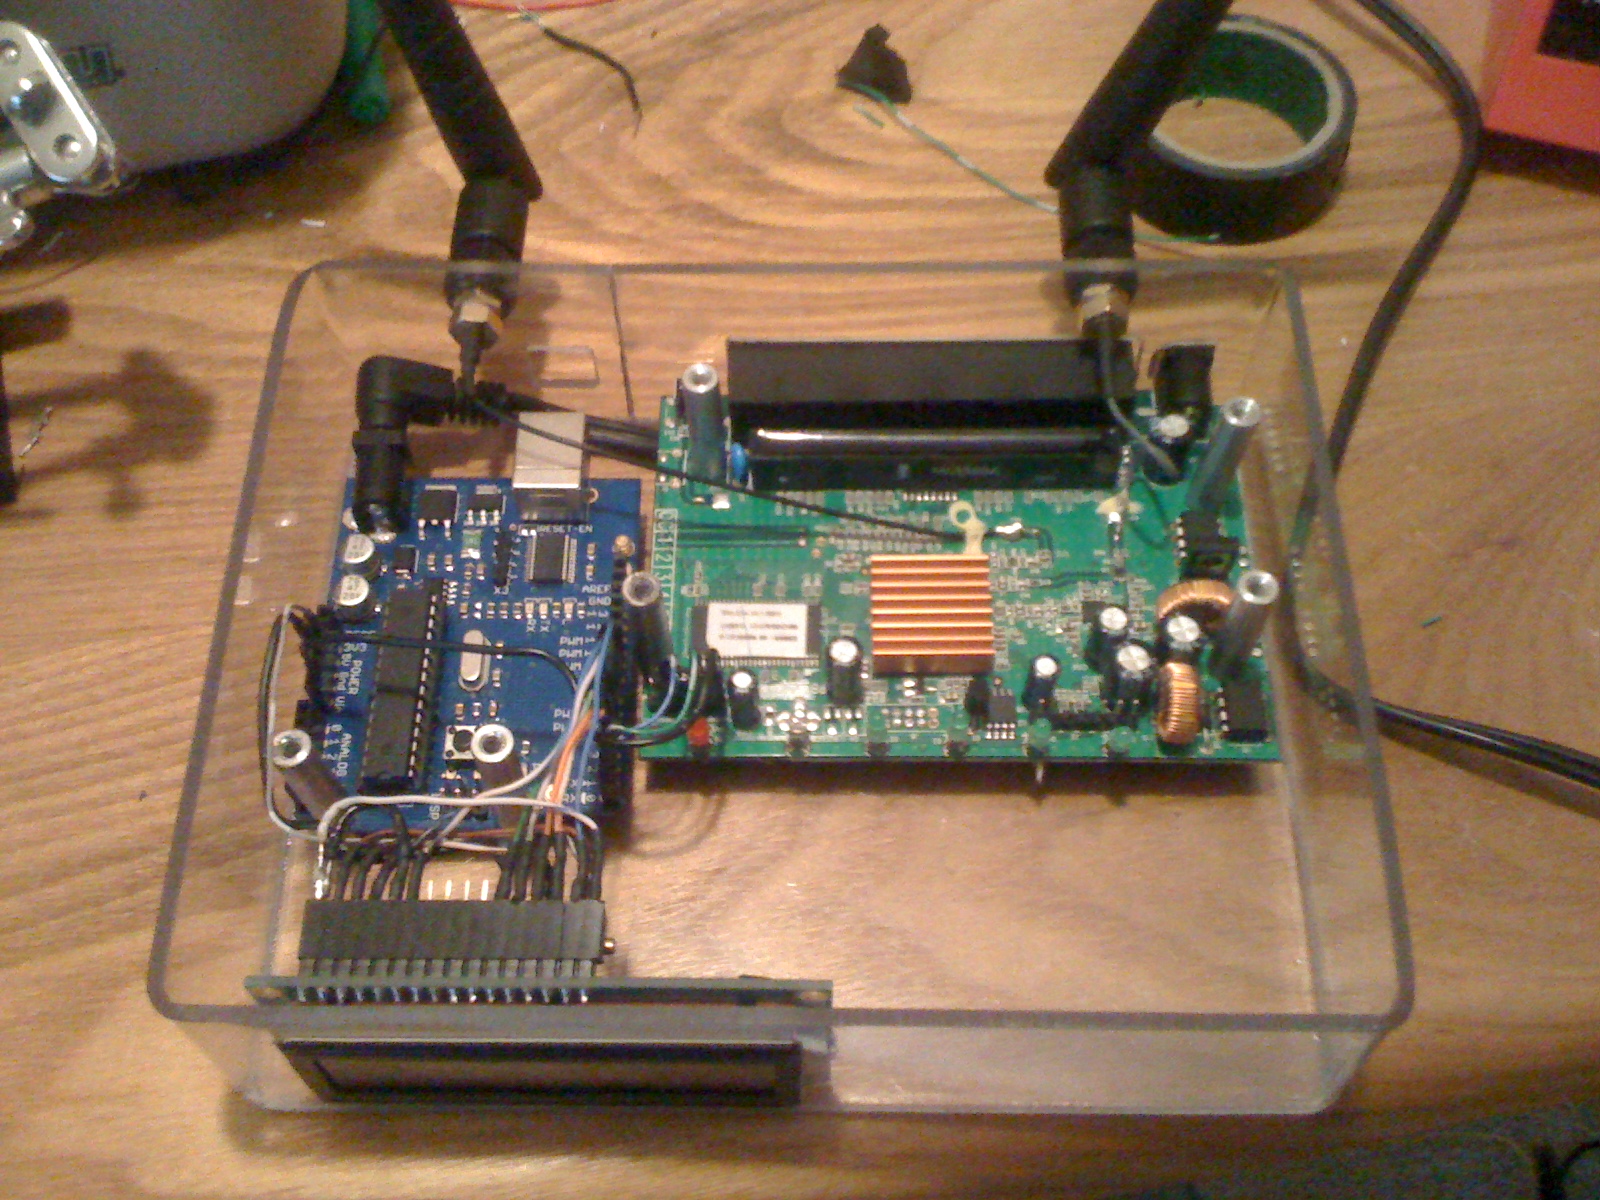
Next I went ahead and applied a heatsink to the broadcom chip. I haven’t overclocked it yet but that doesn’t mean I won’t. In any case it seems to work quite well. (unless I do the USB mod)

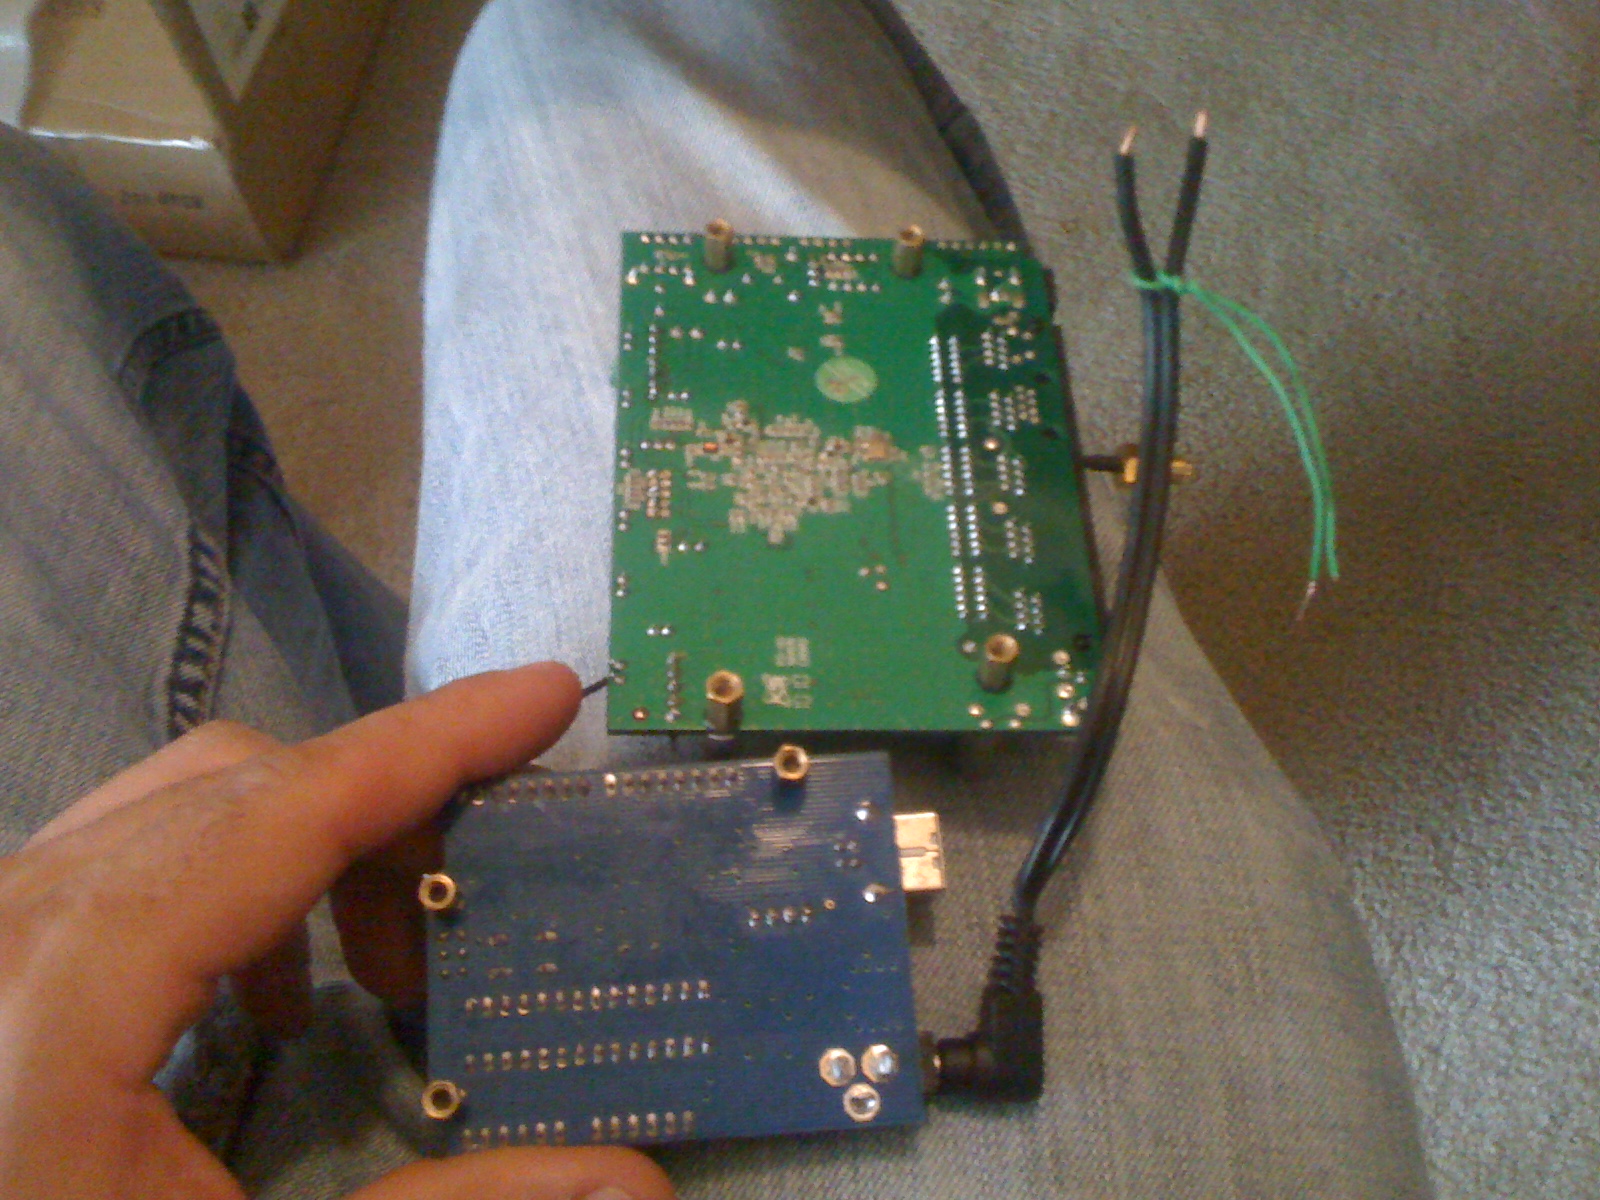
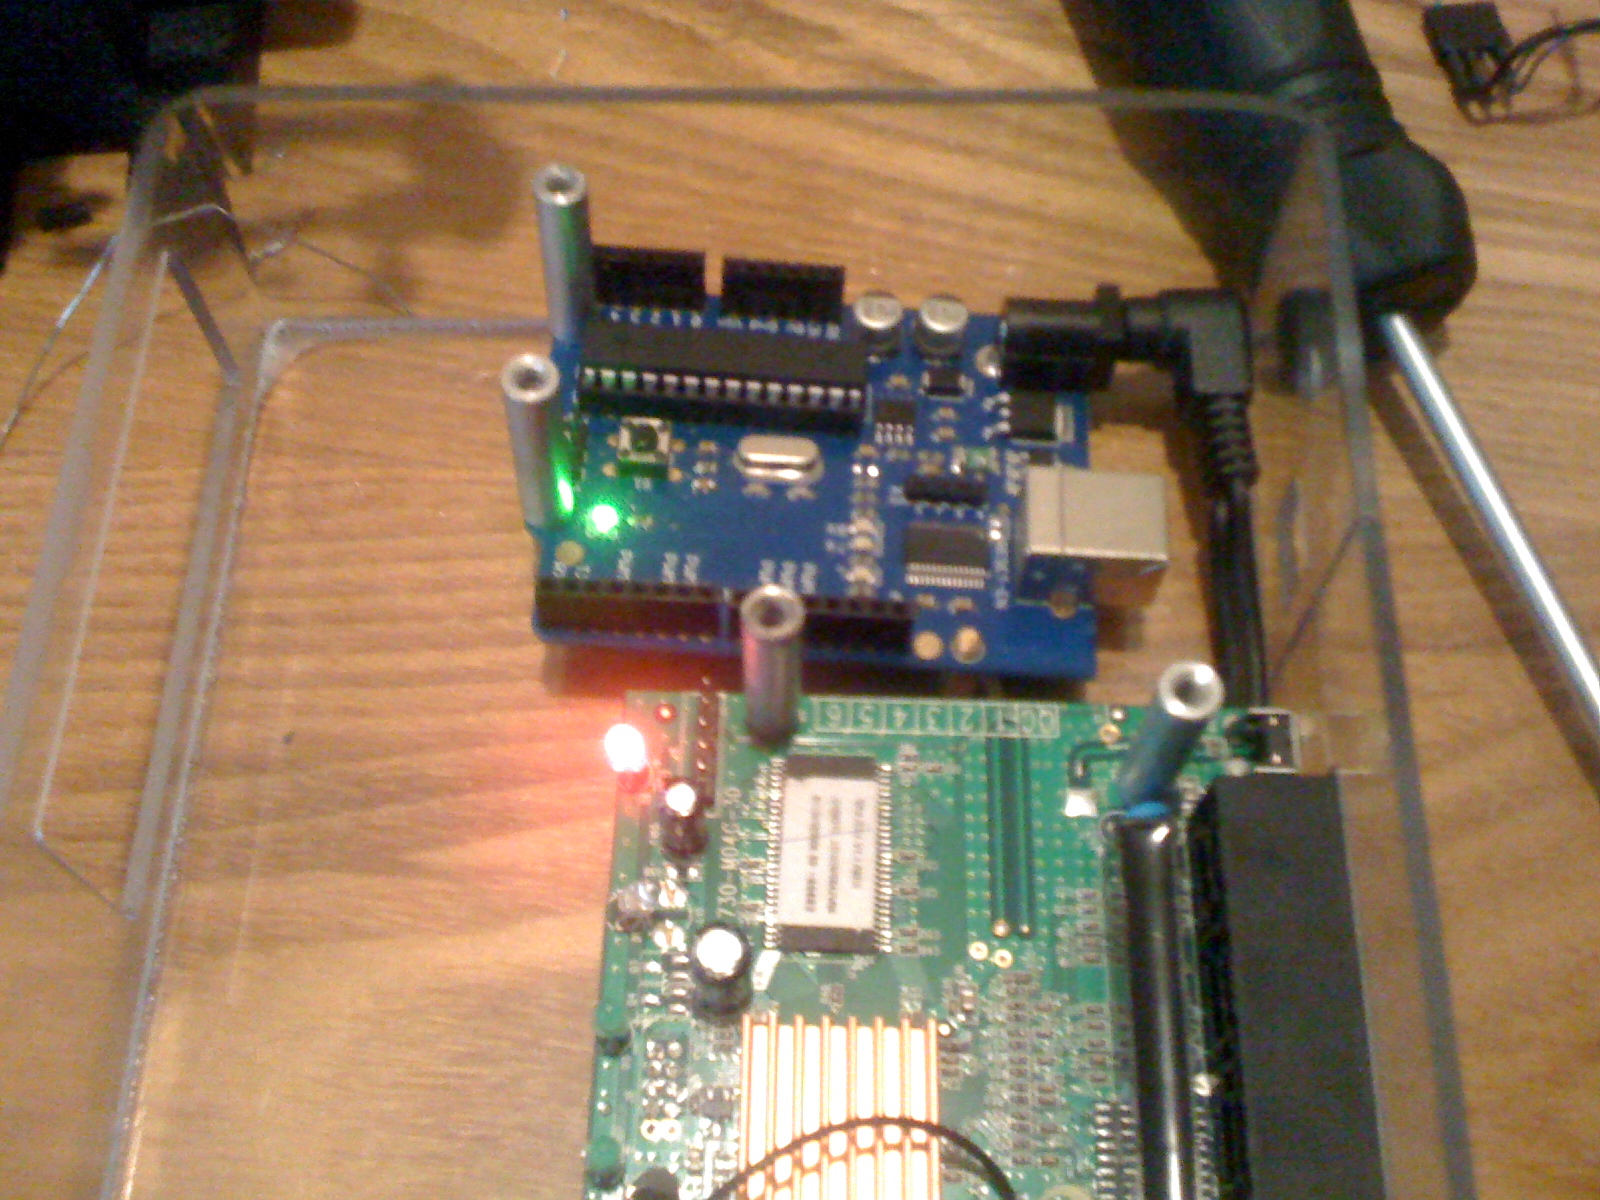
Some people might have been wondering why I designed this with the arduino to sit so far back in the case instead of setting it flush to the back like the router. Well I needed to snag some power from the router and I had an old power cord that didn’t work with a 2.1” jack on it. So I decided to use that to power the arduino. The power to the router is 9v and 0.7a. I was a little worried that the amp draw might be too much for both devices but it seemed to work OK. Since the power cord didn’t work I had to get out a volt meter to test it and find the positive and negative sides. The green wire temporarily tied around was to help me remember which side was positive. I then Had to find a 9v lead and a GND off the board so tap into. I figure the best place was right by the power input and I found a great spot.

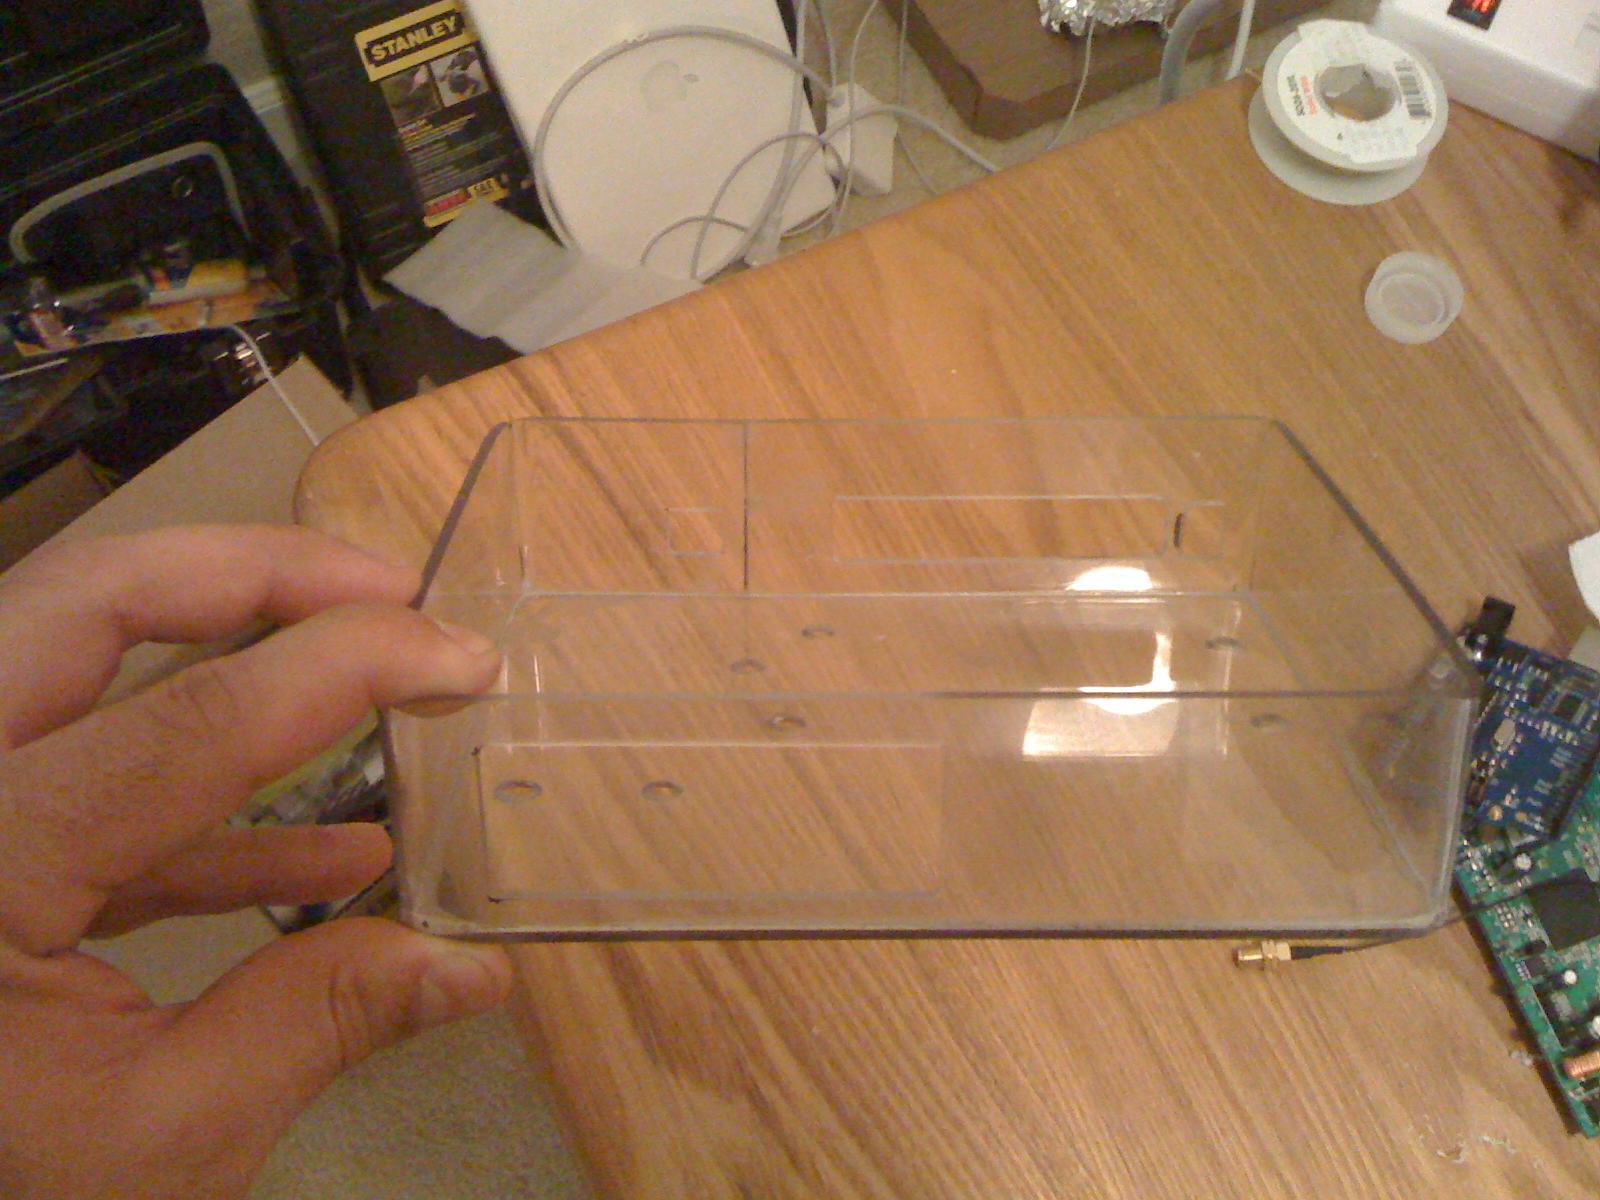
Putting it all back together…

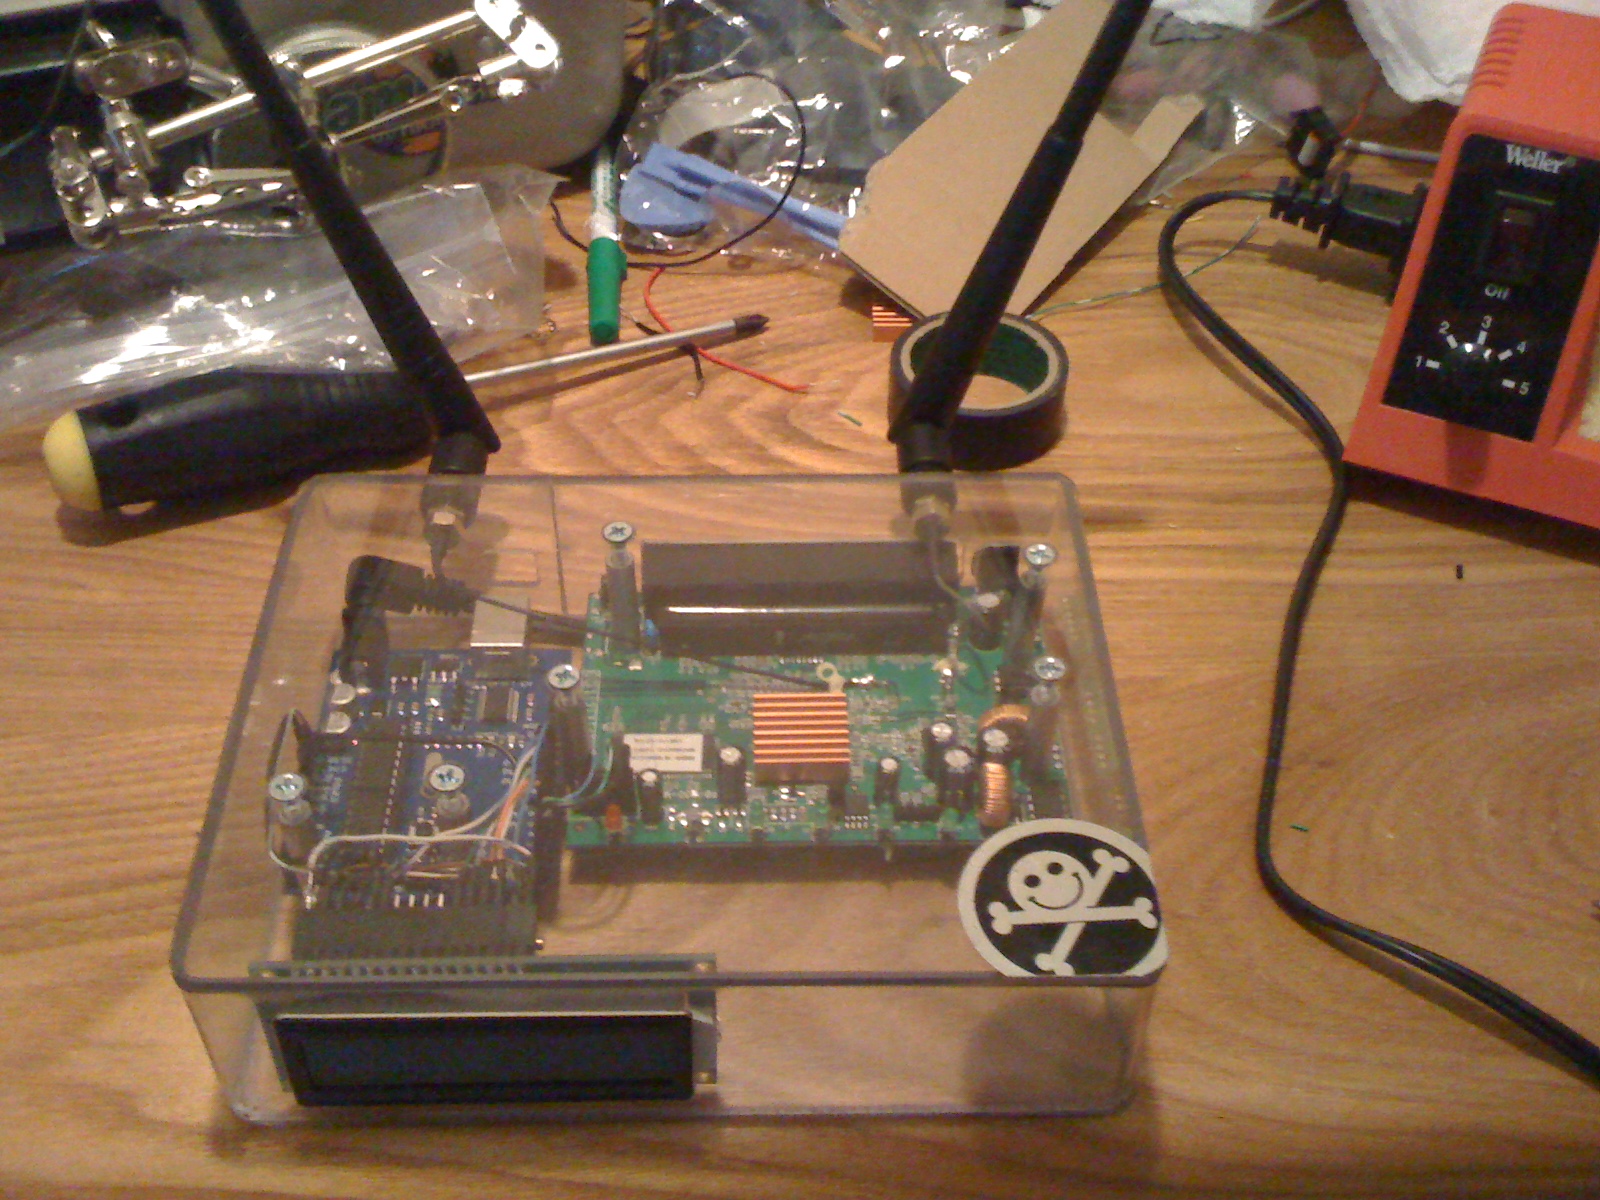
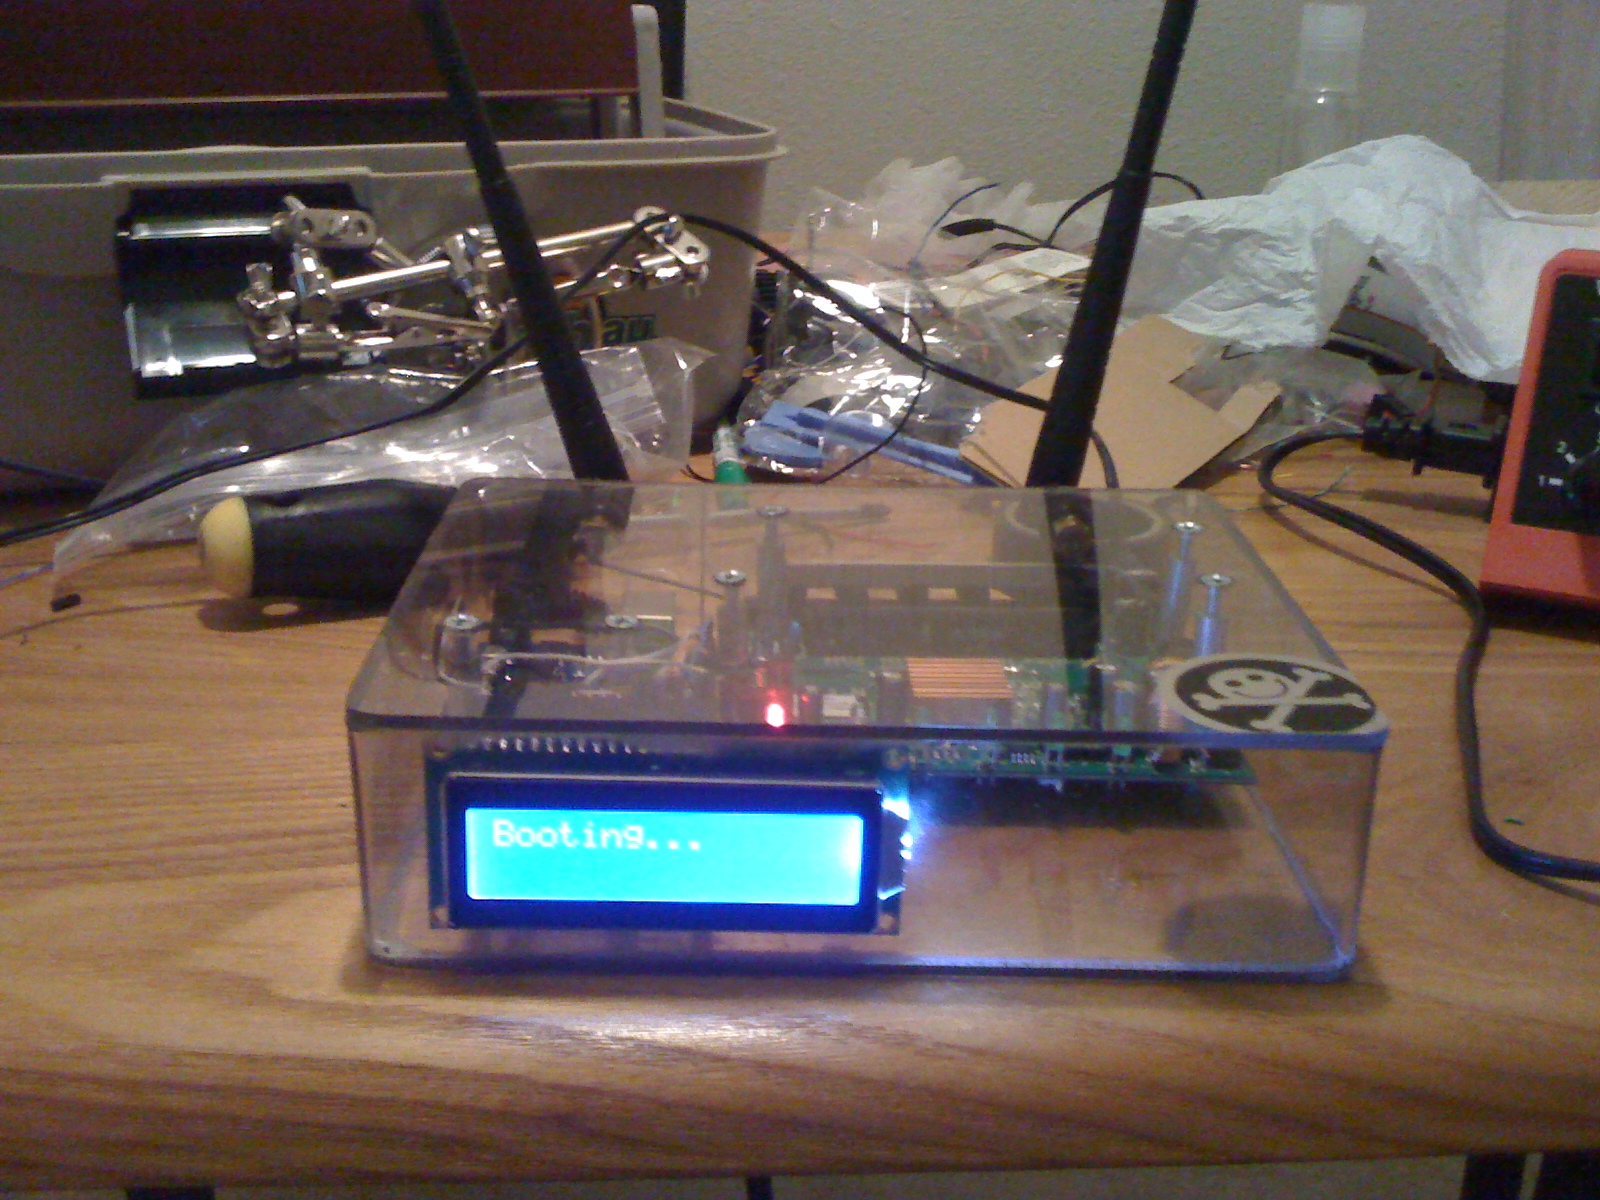
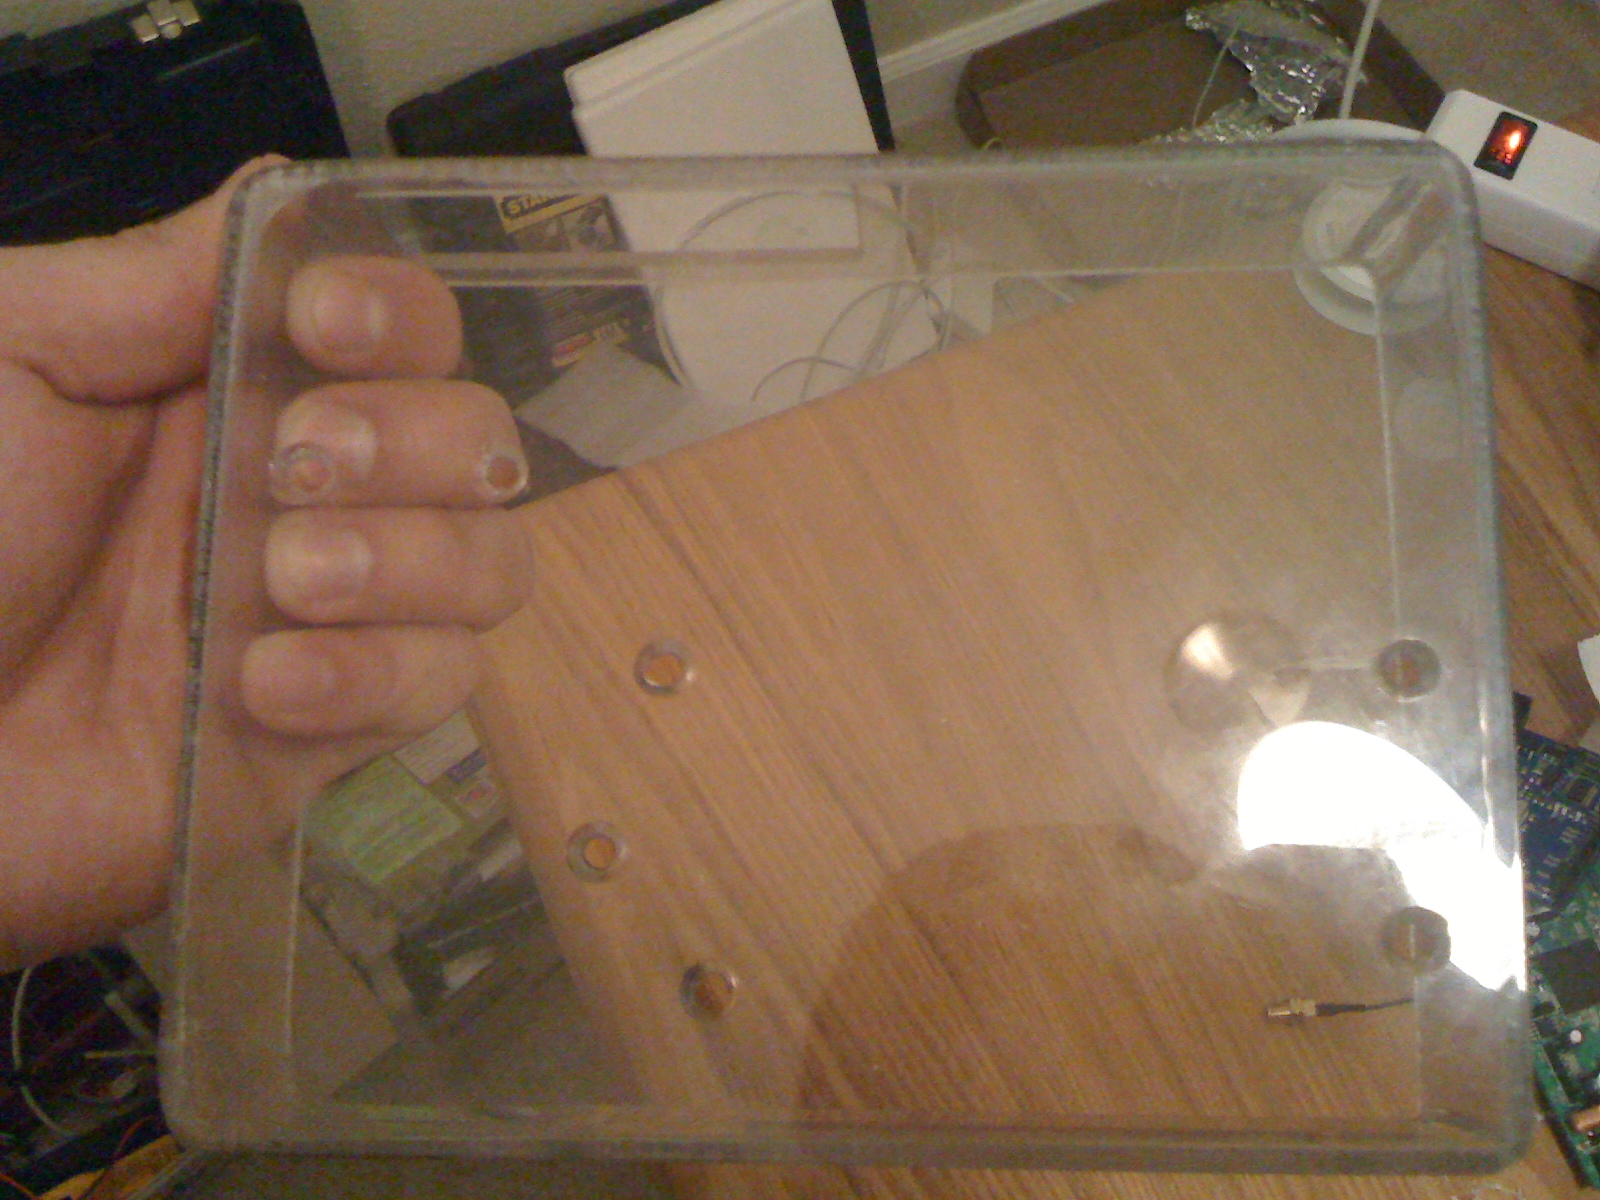
And the Grand Finale…

Running Out of Time.

| Comments

I was pretty busy this weekend and didn’t really have a lot of time to work on this. I did however get the lid drilled and countersunk. I also got the two holes in the back drilled for the antennas. I don’t think this will be as sweet as I thought it would be by the time I have to leave tomorrow. I will probably write some Arduino code on the flight and possibly get something cool to done with it. I still have a few things left to do.

  • Wire the Arduino power off of the router power input.

  • Make the Serial Harness to go from the router to the Arduino

  • Possibly mount some more LEDs

  • Mount the LCD

  • Write code

Here are the update pics.

Wiring the LCD Display

| Comments

Saturday I got a chance to wire up the LCD. As a reference I used a diagram on the Arduino site which looks like this.

I pretty much used the same scheme as the one posted above with a few changes. I changed pins 12 and 11 to 7 and 6. I did this so that all the outputs could be on one pin header. I wanted the ability to turn the backlight on and off so I added one wire to go from bklt+ to pin 8 and the bklt- to a ground.

When I was testing the LCD the first time, I only had a 100k ohm pot vs the 10k ohm pot that recommended. I went out and got a 10k ohm one from Radio Shack which turned out to work very nicely. The rectangular shape made it perfect to glue underneath the female pin headers on the harness. I used solid core wire for this particular project because I had a lot of it and it works well.

The Harness

The harness consists of:

  • 16 pin female header

  • Various lengths of solid core wire

  • 9 male header pins

  • shrink tube (1/16)

  • 10k Ohm Potentiometer

The Pinout

The pinout for the harness is similar to the picture posted above. Moving from left to right (looking down)

  1. GND

  2. One side of the Potentiometer to 5v.

  3. Wiper on Potentiometer

  4. Pin 7 (Arduino)

  5. GND (loop back to pin 1)

  6. Pin 6 (Arduino)

  7. NC

  8. NC

  9. NC

  10. NC

  11. Pin 5 (Arduino)

  12. Pin 4 (Arduino)

  13. Pin 3 (Arduino)

  14. Pin 2 (Arduino)

  15. Pin 8 (Arduino) BL

  16. GND (loop back to pin 1)

Here are some pictures.

Lexan Case Almost Done

| Comments

I got a chance to get the case mostly finished last friday, thanks to some of the guys at my work. They helped me cut some of the hard cuts with a mill. (some of the small inside cuts) There is one hole in the front cut out for the 2x16 LCD display. One hole cut out for the power to the router board and another for the Ethernet ports. Finally there is a hole cut for the USB cable to plug into the Arduino. I did not cut a hole for the 2.1” power jack. I plan to use some power from the router to power the Arduino. I drilled and countersunk 7 holes on the bottom to mount and hold the two boards to the bottom. I used some copper (brass?) spacers (from pc case) to hold the two boards off the deck.

Gearing Up for Vegas

| Comments

Defcon is a week away and I’m starting to get some stuff together to take on the trip. The thing I’m most excited about is the arduino project. I will have a page dedicated to the build, process, software, and hardware that I used. Basically it’s and arduino hooked up to a wifi router and and LCD display. The router and arduino will talk serial to give and receive commands. I will have this out for display and to hack on at Defcon, so if you see a weird looking clear router looking thing stop by and say hey.

Here’s a few teaser pics.

[gallery]

Security+ Certified

| Comments

I decided to go ahead and buy a security+ book around Christmas to study and take the test in early January. I bought the SYBEX Security+ study guide. It was a pretty comprehensive book that covered all the areas for the most part. I also poked around the proprofs.com site which had some decent study materials for the test.

If you are planning on taking this test I would suggest that you read the book cover to cover. I would also suggest you take any practice exams you can get your hands on. I ended up studying for about 2 weeks before taking the test. I had pretty good know of the basic topics that were covered for the exam, but did learn a few things by reading the book. I pass with an 860/900 and 750 being the minimum passing score. I was in there for about 40 minutes and the questions were pretty strait forward.

HTTP Parameter Pollution

| Comments

Here is a good video I found demonstrating classic HTTP Parameter Pollution on yahoo mail. This will work for most web-mail clients out there. This does work and is a nasty way to delete someone’s mail if they aren’t careful.

File Server

| Comments

I haven’t posted up in a while so I figure I’d post up a picture of my file server. I just recently switched motherboards. The “newer” board has two onboard SATA connectors in addition to the two on the PCI SATA card, which the previous one had no onboard SATA connections. The reason for the switch is because I was given a 250GB drive, so rather than letting it sit in my pile of crap I figured I would stick it in my file server.

Not pictured is a new fan in front of the hard drives. A bigger (and louder) 120mm fan.

PS. This site is now hosted on this server.

DEFCON 17

| Comments

I got back from DEFCON 17 on Monday. I had a good time but I think we went a day too long. The talks were decent but seemed to be lacking in some areas. It did spark some interest for some more projects, which I hope I will be able to try in the next few months. The badges were really cool this year with a multi-color LED and a mic. I would really like to participate in the badge hacking competition next year so I might start working on some hardware hacking skills.

I think I am going to work on getting a Security+ cert. It seems that employers really only care about certs and experience. It shouldn’t be too hard to get, plus I have been wanting to do it for a while anyways.

FreeNAS - an Awesome Free NAS

| Comments

First of all this blog is long overdue. I had the chance to play around with an open source project called FreeNAS. I’m sure most of you have heard of. It is based on FreeBSD and Monowall. First let me say this has been the most impressive open source project I have seen in the past year. You can check it out at FreeNAS.org. There are a number of reasons why I love this software. First being it’s light weight, which is awesome. You can run it off of a live CD, a Compact Flash/USB drive, or on a hard drive. Why is the CD / SSD so cool? Because you can cut down on loss of data. All you need to save your configuration to your desktop and upgrade to the newest build or change which format you would like to run it on. I have personally chosen the CF route. I have a CF to IDE converter and I’m running it on a compact flash. Yes I know they have limited write capacity, but that is the beauty of this I just save the config and pop in a new one and I’m back up and running. The OS size is only 128MB for the embedded. It takes about 10 seconds to install, which is super nice.

The other thing that I think is pretty Badass IMHO is the Web GUI. Everything is done though a Web GUI and it’s meant to run as a headless server. It also has a ton of services that it has built-in and run nicely out of the box. To name some: SMB/CIFS, FTP, TFTP, SSH, NFS, AFP, RSYNC, Unision, iSCSI, UPnP, itunes/DAAP, Dynamic DNS, SNMP, UPS, Webserver, BitTorrent. It also has software raid support so for those people who don’t have a hardware raid controller and just have a bunch of disks this is a great option.

I could go on and on about this project but I think it’s best you check it out for yourself. I promise you will not be disappointed. I have recently converted from an Ubuntu install running SMB to FreeNAS without looking back. The switch to FreeNAS has also improved my streaming to my ATV with XBMC over SMB.

On a side note I am getting ready for DEFCON in a month and a half with MSTAFF so hopefully I will be doing some more security projects and blogging them here.