unstdio.org

Not your standard io.

Ubuntu 10.10, Windows Phone 7, IO Badge

| Comments

Ubuntu 10.10

Ubuntu 10.10 came out this weekend and I had a chance to upgrade one of my desktops. I didn’t see a whole lot of design changes from the 10.04 release. I did notice there were a lot of packages that were upgraded. I took a while to upgrade the system but that’s what you get when you upgrade on release day.

Ubuntu 10.10 Netbook Unity Interface

One of the things I really like about the new version is the Netbook edition. The interface (Unity) has been well designed for the smaller screen. It reminds me of a mobile OS. I have always liked the idea of putting a mobile OS like Android on a Netbook. For the majority of what people use them for it’s great. Although with the tablet market on the rise we could see less Netbooks around.

Windows Phone 7

Windows phone 7 was officially released yesterday? It’s kinda hard to tell with all the leaks and people already having a copy of it to demo. I was pleasantly surprised on the design aspect they took. I’m not going to say it’s better than the iPhone but it is comparable. They added some nice features like auto wireless syncing. Obviously this just seems like a security issue waiting to happen, but hopefully they did it right. Maybe if I get my hands on a WP7 device I will do some testing. You can watch the demo video here (Need silverlight).

The one thing I thought was a bit disappointing was the lag and and slowness of the device. He even had multiple devices up there knowing that he might have to switch because of speed issues. The thing I care about most these days is speed on a device. I would gladly give up eye candy for speed and reliability. Hopefully they get some of the “vista” bugs worked out.
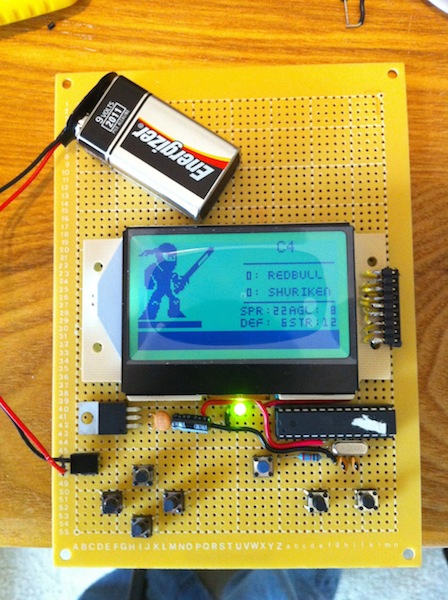
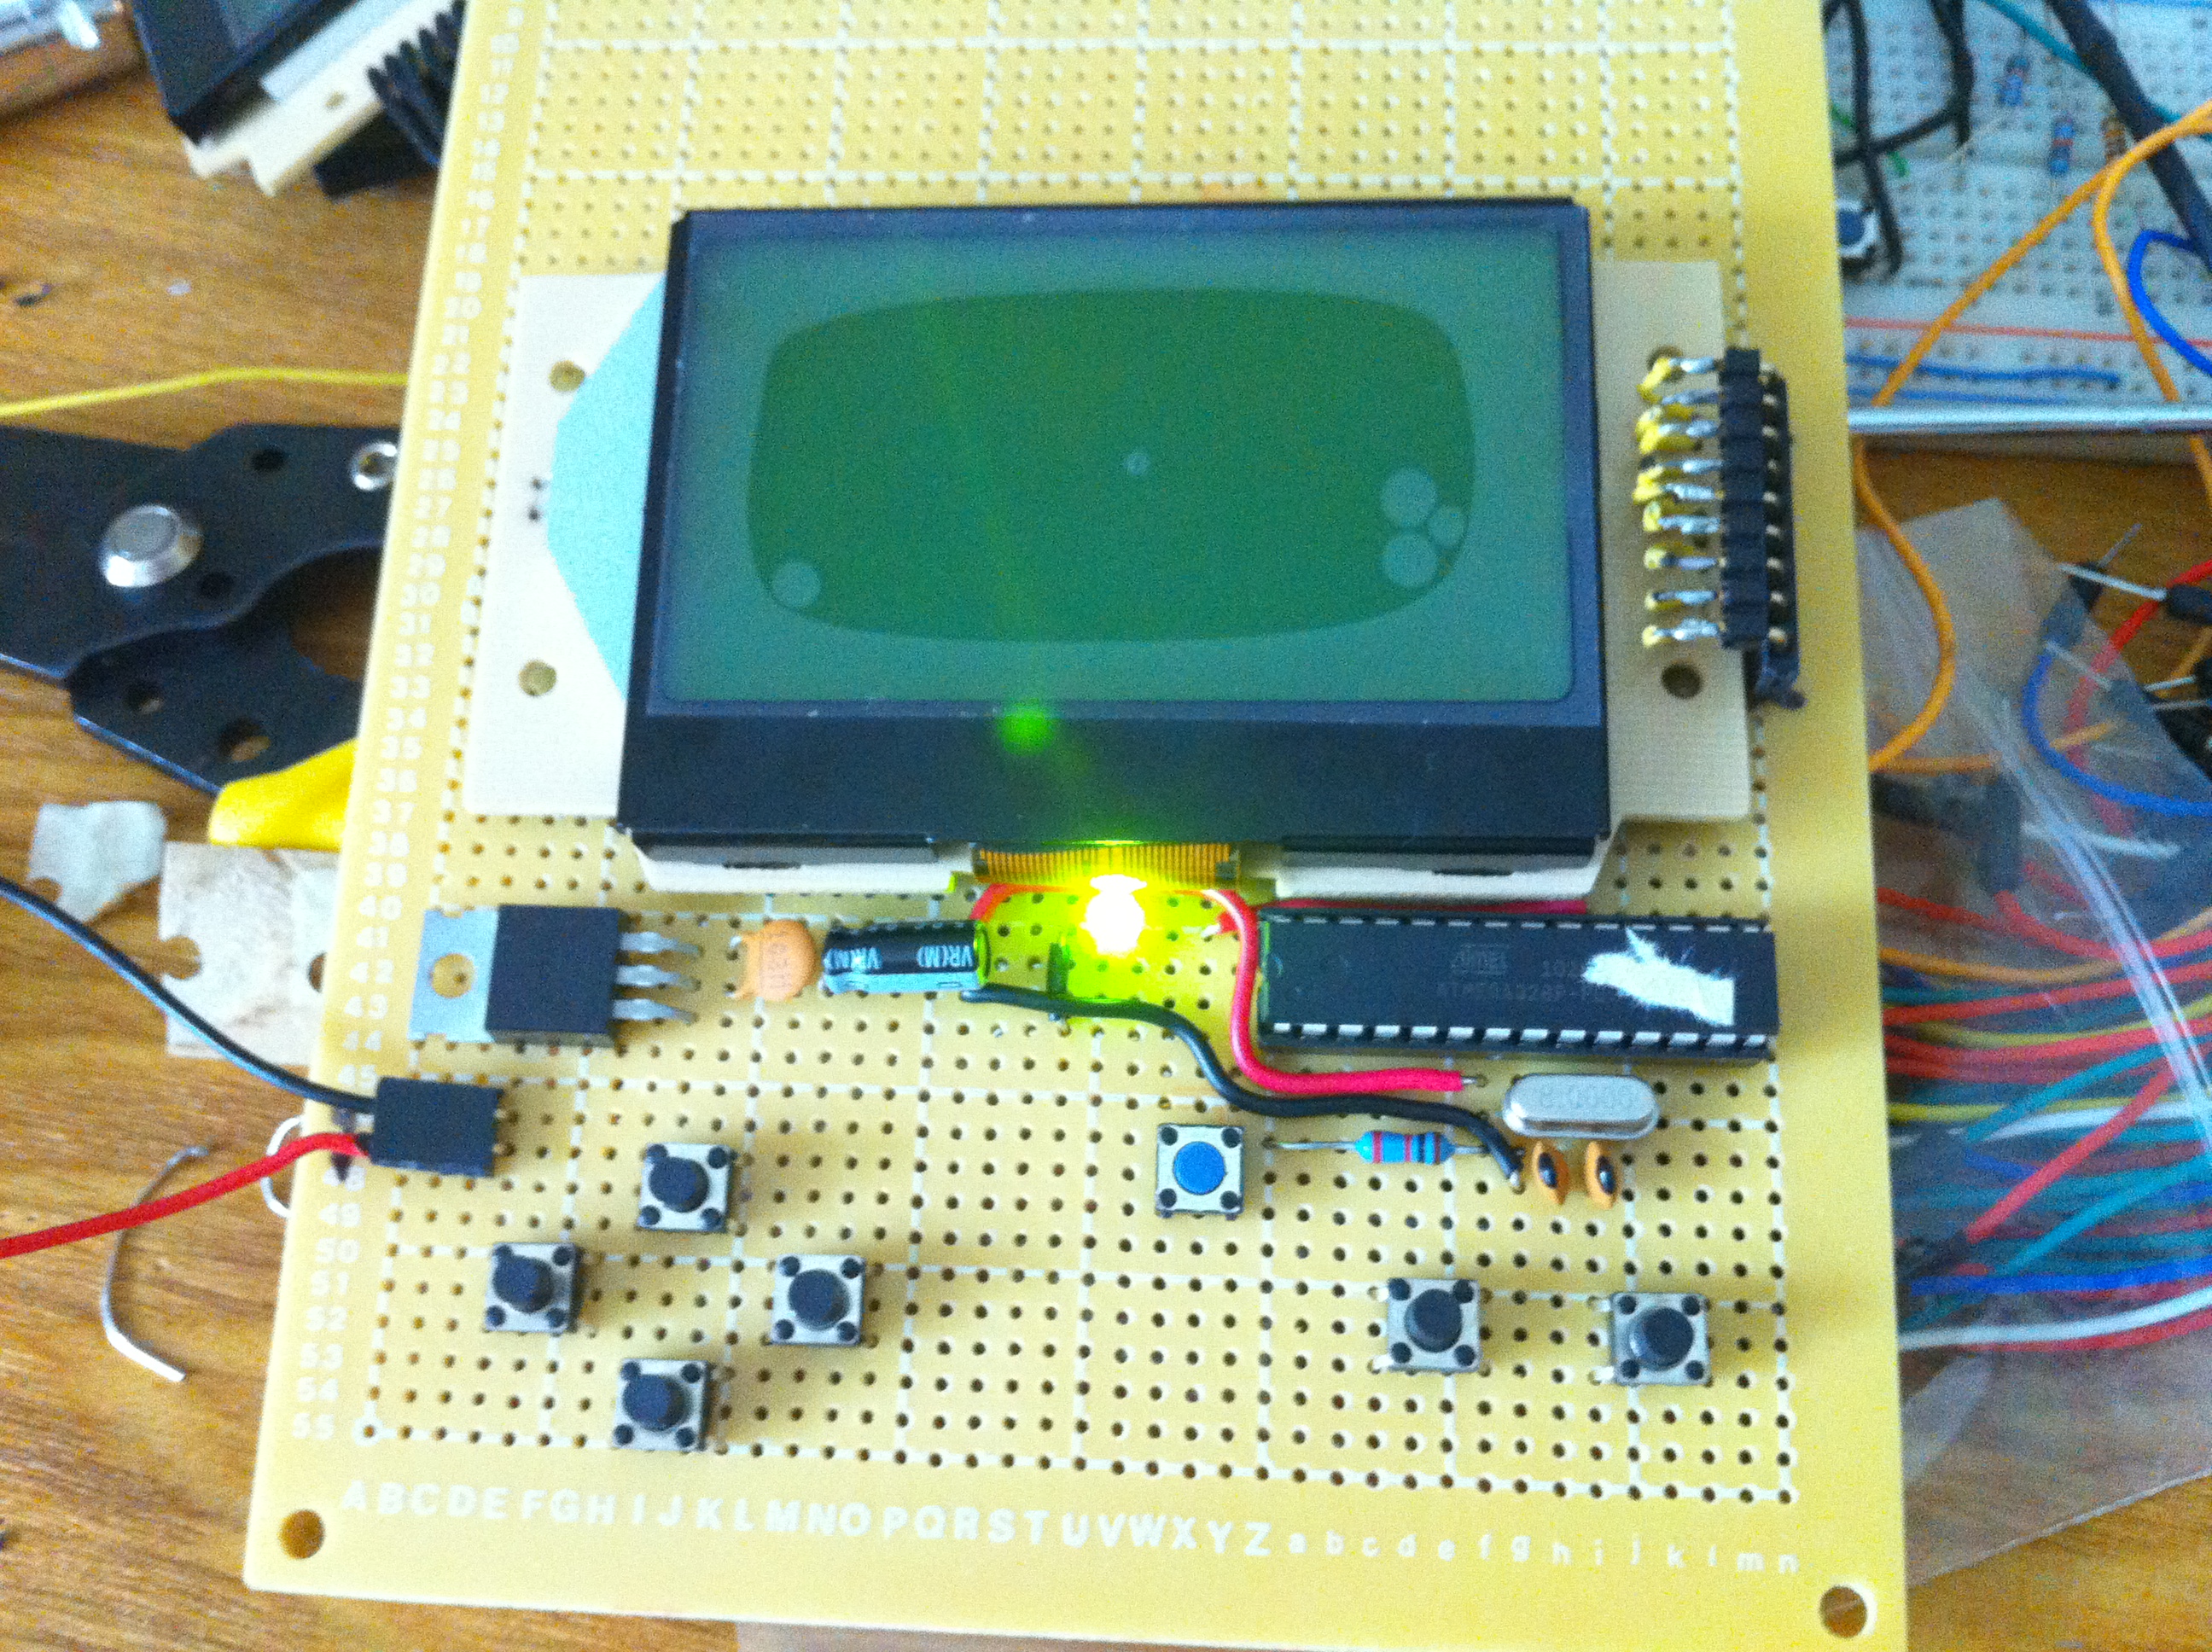
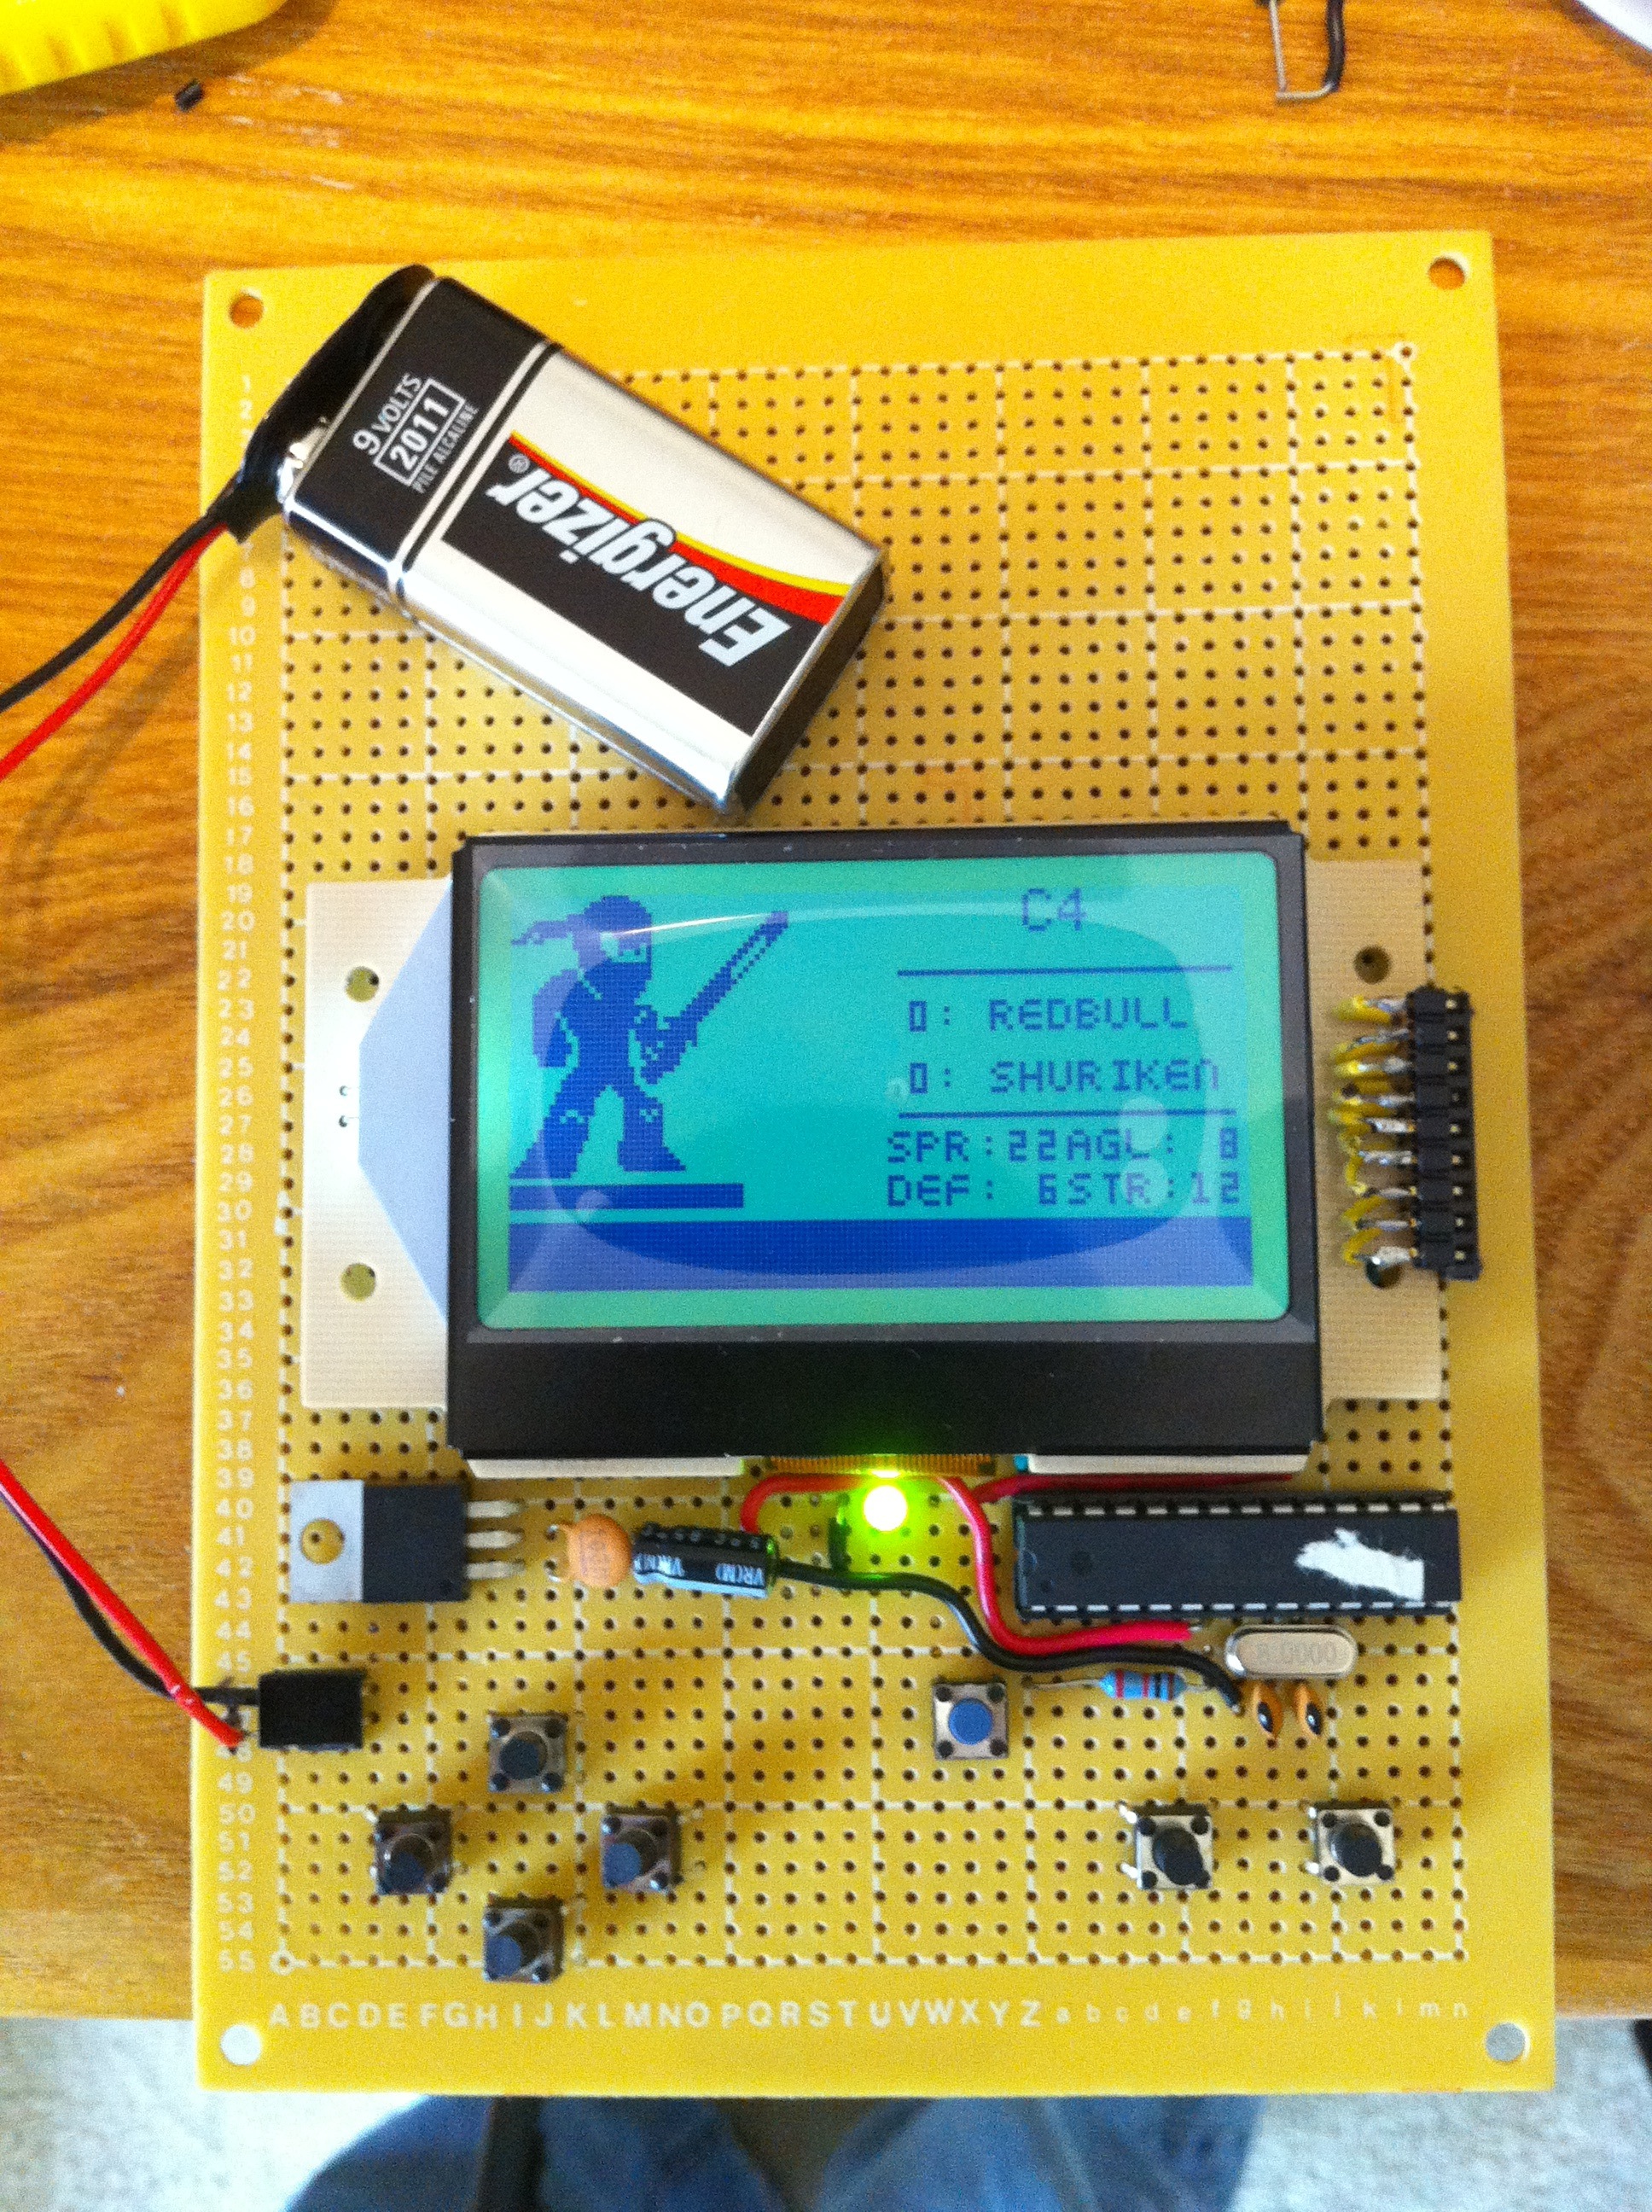
IO Badge

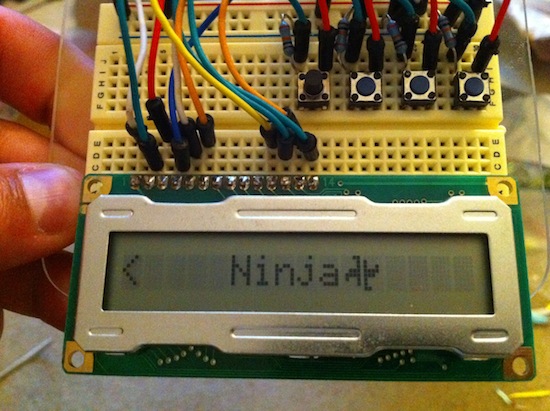
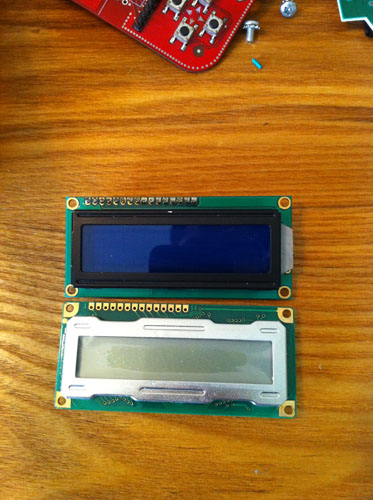
Now we are getting somewhere. I was able to get some help on Monday from Pierce a logos-electro.com. I was able to get most of the Eagle files done. I still have to tweak the LCD package to reflect the 14 pins on the no backlight LCD vs the 16 pin one that is on there now. Here is a pic of eagle file.

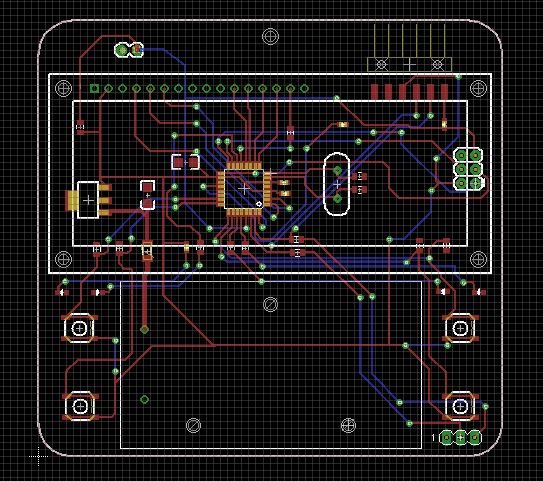
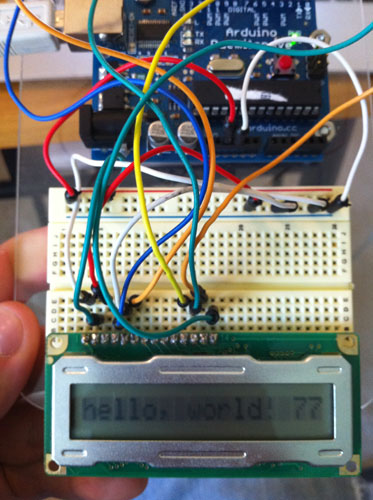
I know the design is pretty crude but its my first board and first attempt at eagle. The next project will be better. I hope to fix this up in the next day or two and send it out to have some prototypes made.

Ice Tube Clock and Metaboard Kits

| Comments

Last week I got the Ice Tube Clock kit for my birthday. (from my gf of course) I am pretty excited to assemble this over the weekend. The kit is from adafruit. You can find it here. It uses a Russian display tube, which is pretty awesome. Here is the kit after I took it out of the box.

Metaboard Kits:

Here is a few pictures of one of the metaboard kits I assembled. They were pretty easy to assemble and it took me maybe 45 minutes with distractions.

I haven’t got the chance to burn a chip with the USBaspLoader bootloader yet. I would like to do some testing on these. I know that the sketches arn’t loaded using the Tx and Rx pins on the board. This also limits you to no serial monitor output. I’m not sure if you can use soft serial to accomplish the same thing. This would be a big bummer for doing actual development, since that’s a major debugging feature.

SF Trip, Ninja Games, and Metaboards

| Comments

I got a chance (for the first time) to go to San Francisco this past weekend. I met up with some friends from college and did some touristy stuff. One of the cool things I got to do was visit Noisebridge (SF hacker space) which was throwing a party. I was cool seeing another hacker space and seeing what other projects people were working on.

While in the city we rode a lot of metro transit. By the end of the weekend I had a pocket full of tickets but I found one to be interesting. The “muni” ticket felt a little bit different. After taking a closer look it was an RFID ticket. I haven’t gotten a chance to play with it yet or read any data, but I will this weekend.

Badge Progress

I started writing the code for the badge. Without spoiling it too much I will have a few integrated games. The coolest one being a ninja game. That’s all I’m going to say.

The Metaboards also apparently came did come in today. I got a package notice when I got home from work. I will do a post after I pick them up.

  • C4

LCDs in, PCB Progress, and Testing

| Comments

I have made some progress on the PCB layout. I have decided to take out the reset push button. It will have 2 headers that can be bridged to reset the badge if you need to, along with removing the battery. This will cut down a little bit on the costs. I am also going to remove the GND, TX, and RX pads I had placed on the bottom of the board. If you would like to send serial data to the badge you can do so through the FTDI header.

The LCDs came in yesterday. They are basically what I expected them to be minus with one thing with the pin assignment. I planned for this badge to be designed to have the ability to swap out the LCD for 16x2 char one with a backlight. The general layout for the 16x2 is 16 pins for connecting the LCD. The ones I got for the badge are 14 pins. I assumed that the 14 pin on would start in the same place physically on the lcd. (ie. pin 1 - 1) Well, the new lcds start the location of the first input pin at the 16x2 lcd pin 2. This shifts all the pins down by one and looks to make swapping the two types of LCDs very hard or impossible.

The package they came in looks like a brick of drugs, haha.

Comparison picture. You can see that the header pads don’t match up like I described.

I also started writing some menus and games last night. I am a little disappointed that there is no backlight, but they were pretty cheap and the ones with the backlight were 2 to 3 times more expensive. I will make sure the next version after these will have a backlight LCD.

Zigdunio and Arduino Uno

| Comments

I got a chance to talk to Pierce from Logos Electromechanical this weekend at Hackerbot Labs. He showed me some of the new boards (1x3 series and high current arduino shield) that just came in from being manufactured. They look very cool. He also showed me a Rev. 3 board (not assembled) of the Zigdunio. He mentioned that he was getting a lot of interest so far from people around the community that want to integrate RF into their project without having to buy an Xbee Module and shield. It also looks like it has made it onto Wikipedia under the “Shield-compatible clones” section.

The Arduino UNO came out last week. The big difference in this version is the lack of an FTDI chip. It was replaced with a Atmega8U2 programmed as a USB-to-serial converter. Check out the new design and more about the features here. Adafruit had it on their ”Ask an Engineer” episode this weekend too.

I have a lot of projects going on right now and one of the biggest annoyances when working with electronics is dangling wire from a board to the breadboard. I have seen some starter kits that come with an acrylic base that has an Arduino and a breadboard mounted to it. I decided to make my own and it turn out pretty well.

I also got to see a 1 watt blue laser diode this weekend which was pretty awesome. Here’s a pic with the lights off and a smoke machine going.

On a last note, I put some more information down about an event that’s coming up in Kalamazoo, MI. I am putting together a little hardware workshop to build and give away Metaboard kits. The Kits are mostly compatible with the Arduino platform and are insanely cheap. More information on that here.

IO Badge Update

| Comments

For those of you who are interested, the IO badge (V1) is moving forward. I have the majority of the LCDs on order. The majority of the badges will have 16x1 character LCDs on them (with no blacklight) and a few of them with a 16x2 Character LCD. (with backlight) I will only be making about 30 badges since everything is coming out of my pocket on this project. I would estimate the number to be slightly less due to possible manufacturing defects.

As the design goes right now, the badge will have 5 push buttons. 4 input buttons to control the software and 1 reset button, which I may replace with a header jumper instead. The power will be run off of a 9v battery and it will include an FTDI header to program the board with other firmware (No FTDI chip on board). It will run the ATmega328 (surface mount) with the Arduino bootloader.

I am setting up a parts list and will be putting in the order for all the components the same time as I send the boards out. I plan on posting the firmware on this site a day or two after I give (or sell) them away. I may try to sell them (cheap) to recover some of the costs in producing these. I haven’t made a decision on that yet.

I am still active in ccowmu.org (wmu computer club) and they hold a bi-annual LAN party at the parkview engineering campus (aka PLAN). The plan is to distribute these at the spring event. For more information on the PLAN check out whatistheplan.com.

Starting a New Badge

| Comments

I have decided to start working on a new badge (possibly for DEFCON or another CON). I will continue to work on the other one as parts come in. The new badge will consist of an arduino like board (not shield compatible) a HD44780 compatible LCD, and some momentary push buttons. It will run on a 9v battery and have 5v logic. I am working on sourcing parts and laying out the board. I ordered a batch of LCD’s for cheap but didn’t look at the datasheet close enough because they are bigger than I expected. They are 122x33mm where as I was looking for ones around 80x36mm. I will be selling these off so if you want some post here and let me know.

Here’s a comparison, the top one is the new one, the bottom one is the size I’m looking for.

I have found the ones I am looking for an now have those on order. They should be here in a week or two.

Badge Prototype 1.1

| Comments

I received the 3.3v voltage regulators in today. Good thing I looked at the datasheet before swapping them out because the pinouts were different.

5v LM7805 (Top L -> R)

  1. Input
  2. GND
  3. Output

3.3v LM1117T (Top L -> R)

  1. GND
  2. Output
  3. Input

Once I swapped those out I checked the voltages. They were good, roughly 3.3v (little less). Then I wired up the LCD. I used the analog pins 5-1 because they were on top of the chip closest to the lcd header (digital pins 19-15). Now we are getting somewhere, the display lives!

Next I’m going to wire up the momentary push buttons to some inputs on the atmega. After that I’ll continue porting over some code.

Badge Prototype 1

| Comments

I got a chance to start working on the Arduino (ninja) badge prototype. This first prototype is inspired but the hackduino project. I wanted to make something functional but didn’t want to mess with etching a board on the first attempt. Since I wasn’t paying attention when I ordered the parts, I accidentally ordered a 5v voltage regulator vs a 3.3v one (LM1117). That should come in tomorrow. All that is currently working is the bare-bones ardunio circuit with a LED flashing. I started to wire in the LCD but stopped when I realized what voltage I had and didn’t want to use a level shifter on this board. After I get the new voltage regulator put in I’ll wire up the LCD and the buttons and write up a test sketch. Here is a picture of the progress.


LM1117


Re-wiring Network Rack

| Comments

It has been a long time coming for this project. The network part of our rack at work needed to be re-wired. It looked like a spaghetti mess. On my defense it was like this before I got there. I assume this happens all too often with small companies growing and adding more equipment without having a network plan.

When I started planning this out I had to go a route with minimal disruption on the network. I decided to map everything out where it was and where it was going. I also did this on a holiday weekend when no one was at the office. I started with the green wires. (phone) Once those were done I moved to the blue wires. (data) I also added a third color, black. Black denotes a machine that is in the rack directly connected to the switch. The project took about 6 hours including moving servers around in the rack to make space for the additional cable management pieces.

Here are a few pictures.

Start.

Stripped.

Finished.